This post is also available in: עברית (Hebrew)
So, we celebrate Shavuot next week thus it is time for a special dessert!
One that will look damn good, make everyone ask for more, yet won’t take too much work to make.
Well, this one is IT. Now since my feed is swamped with vegan cheesecakes, I went for a different look, to make it interesting, so here’s my sweet pizza 🙂
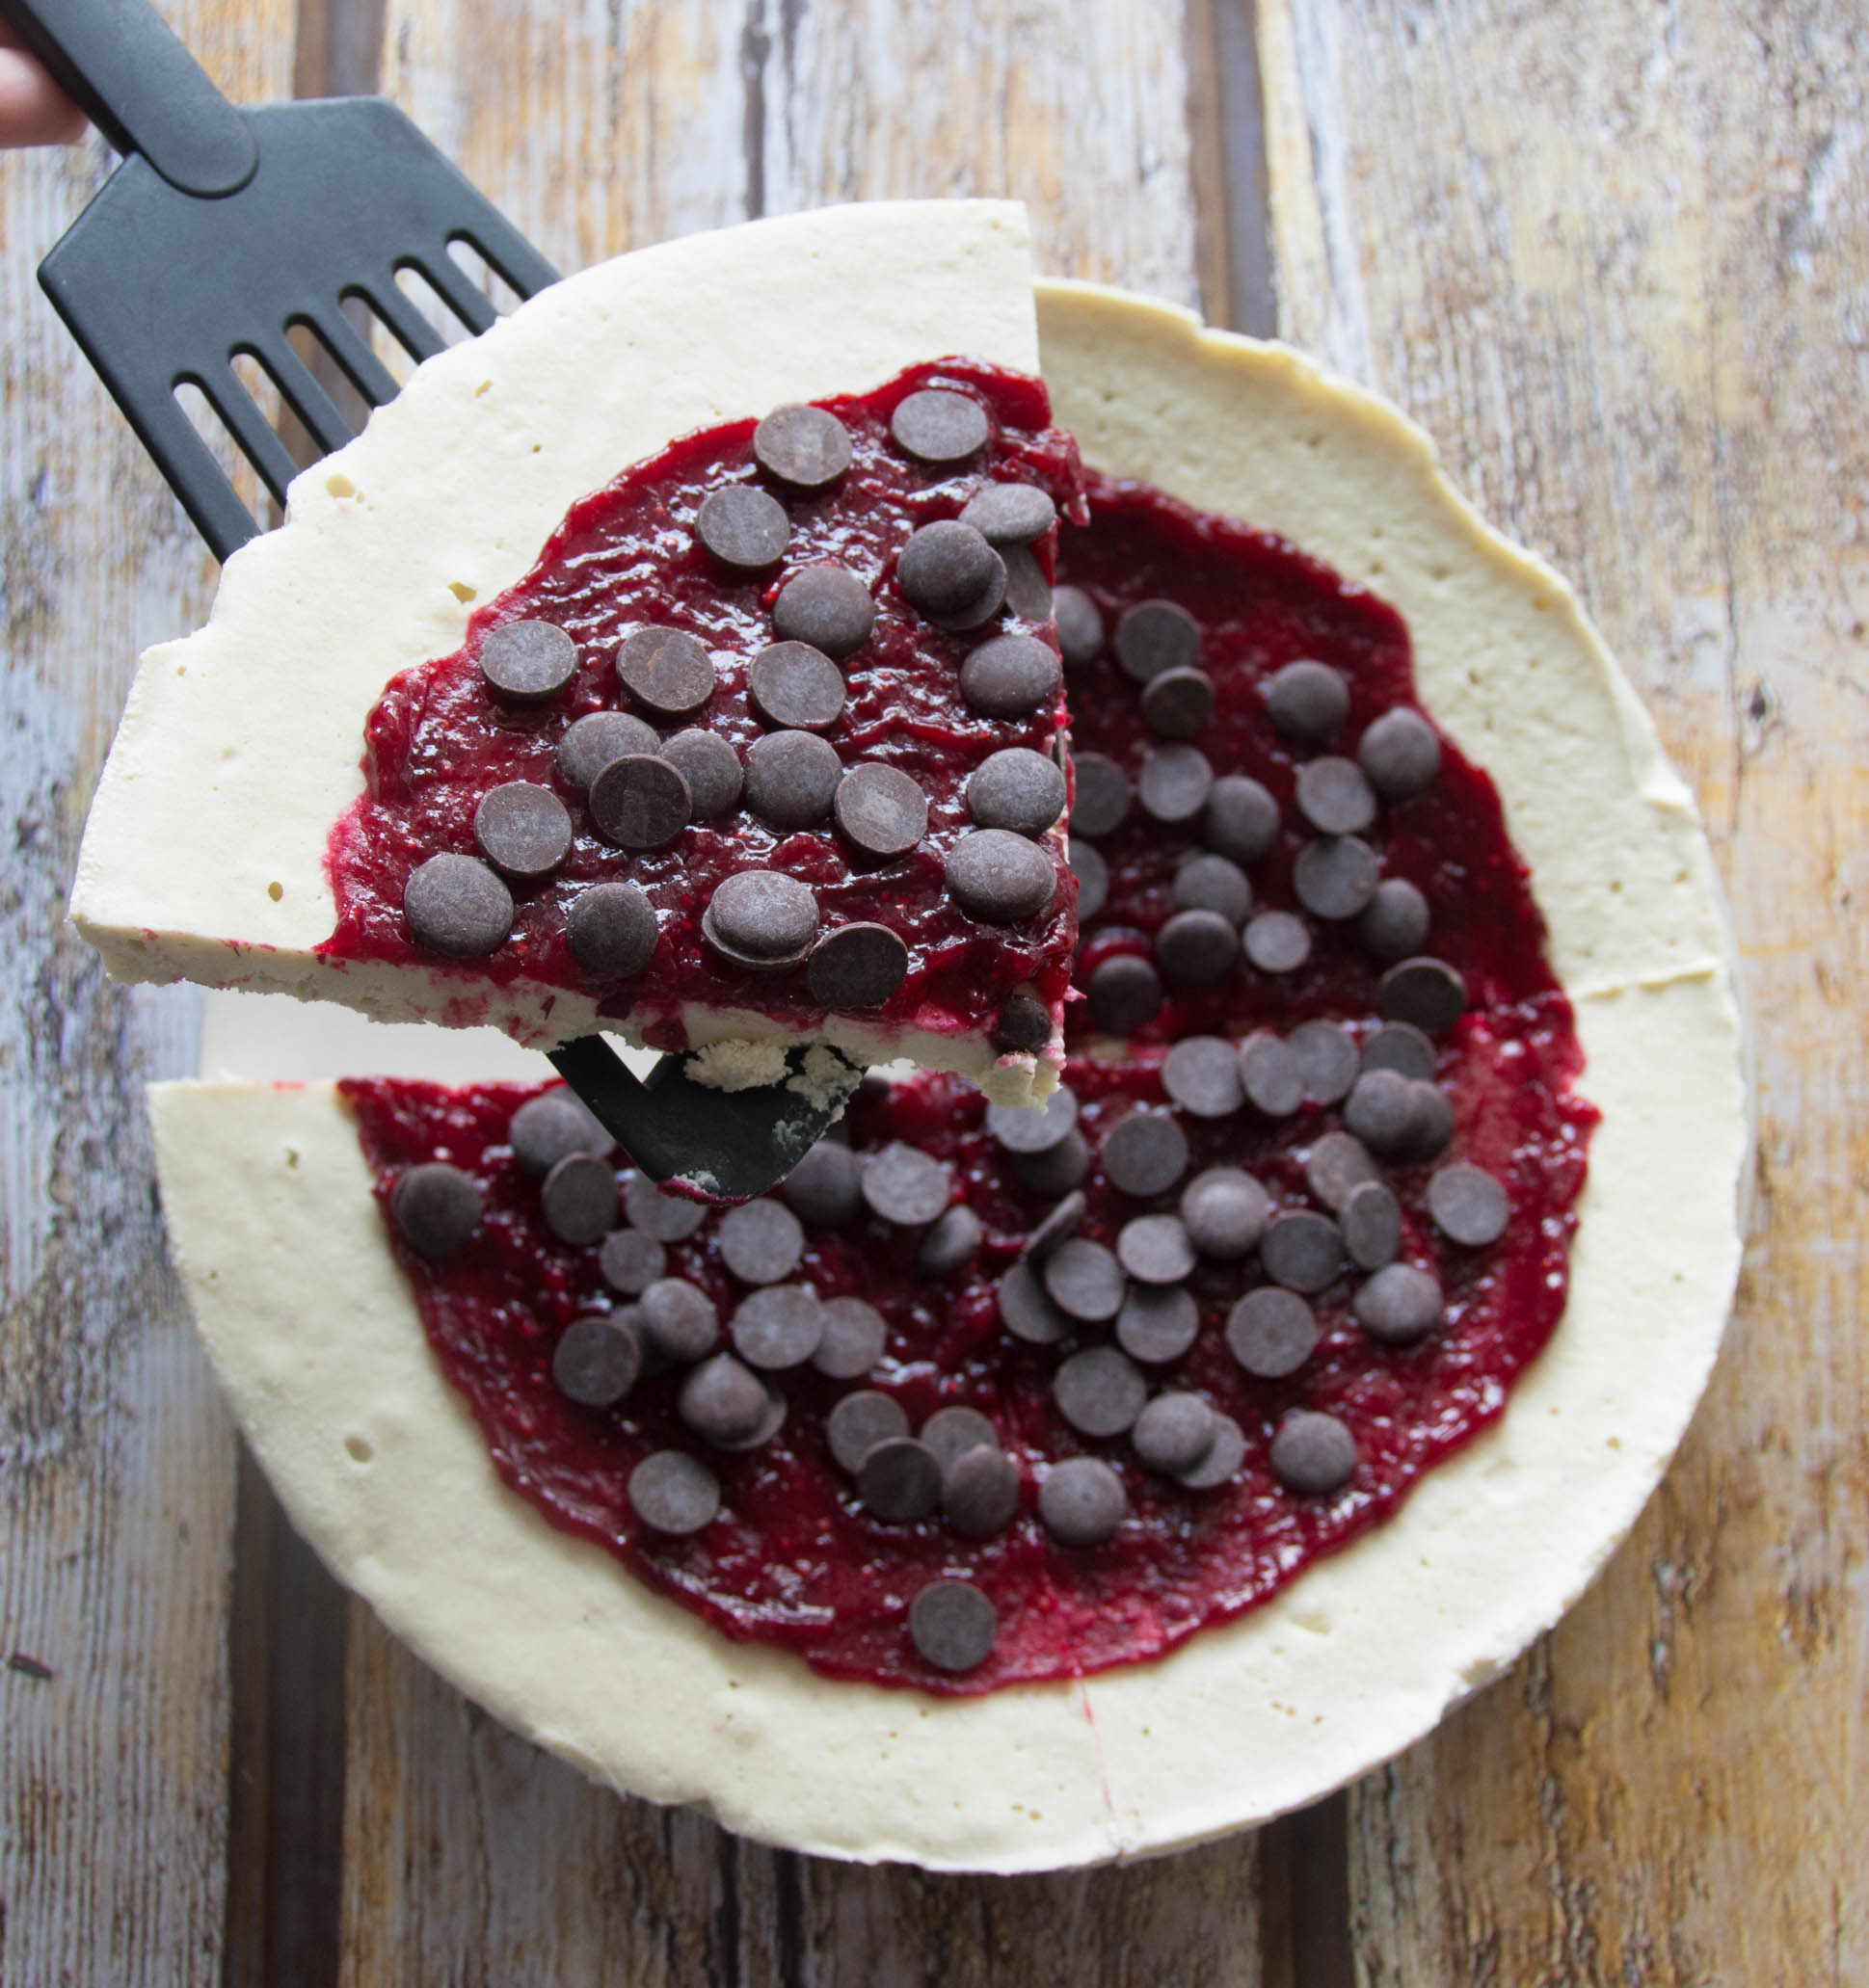
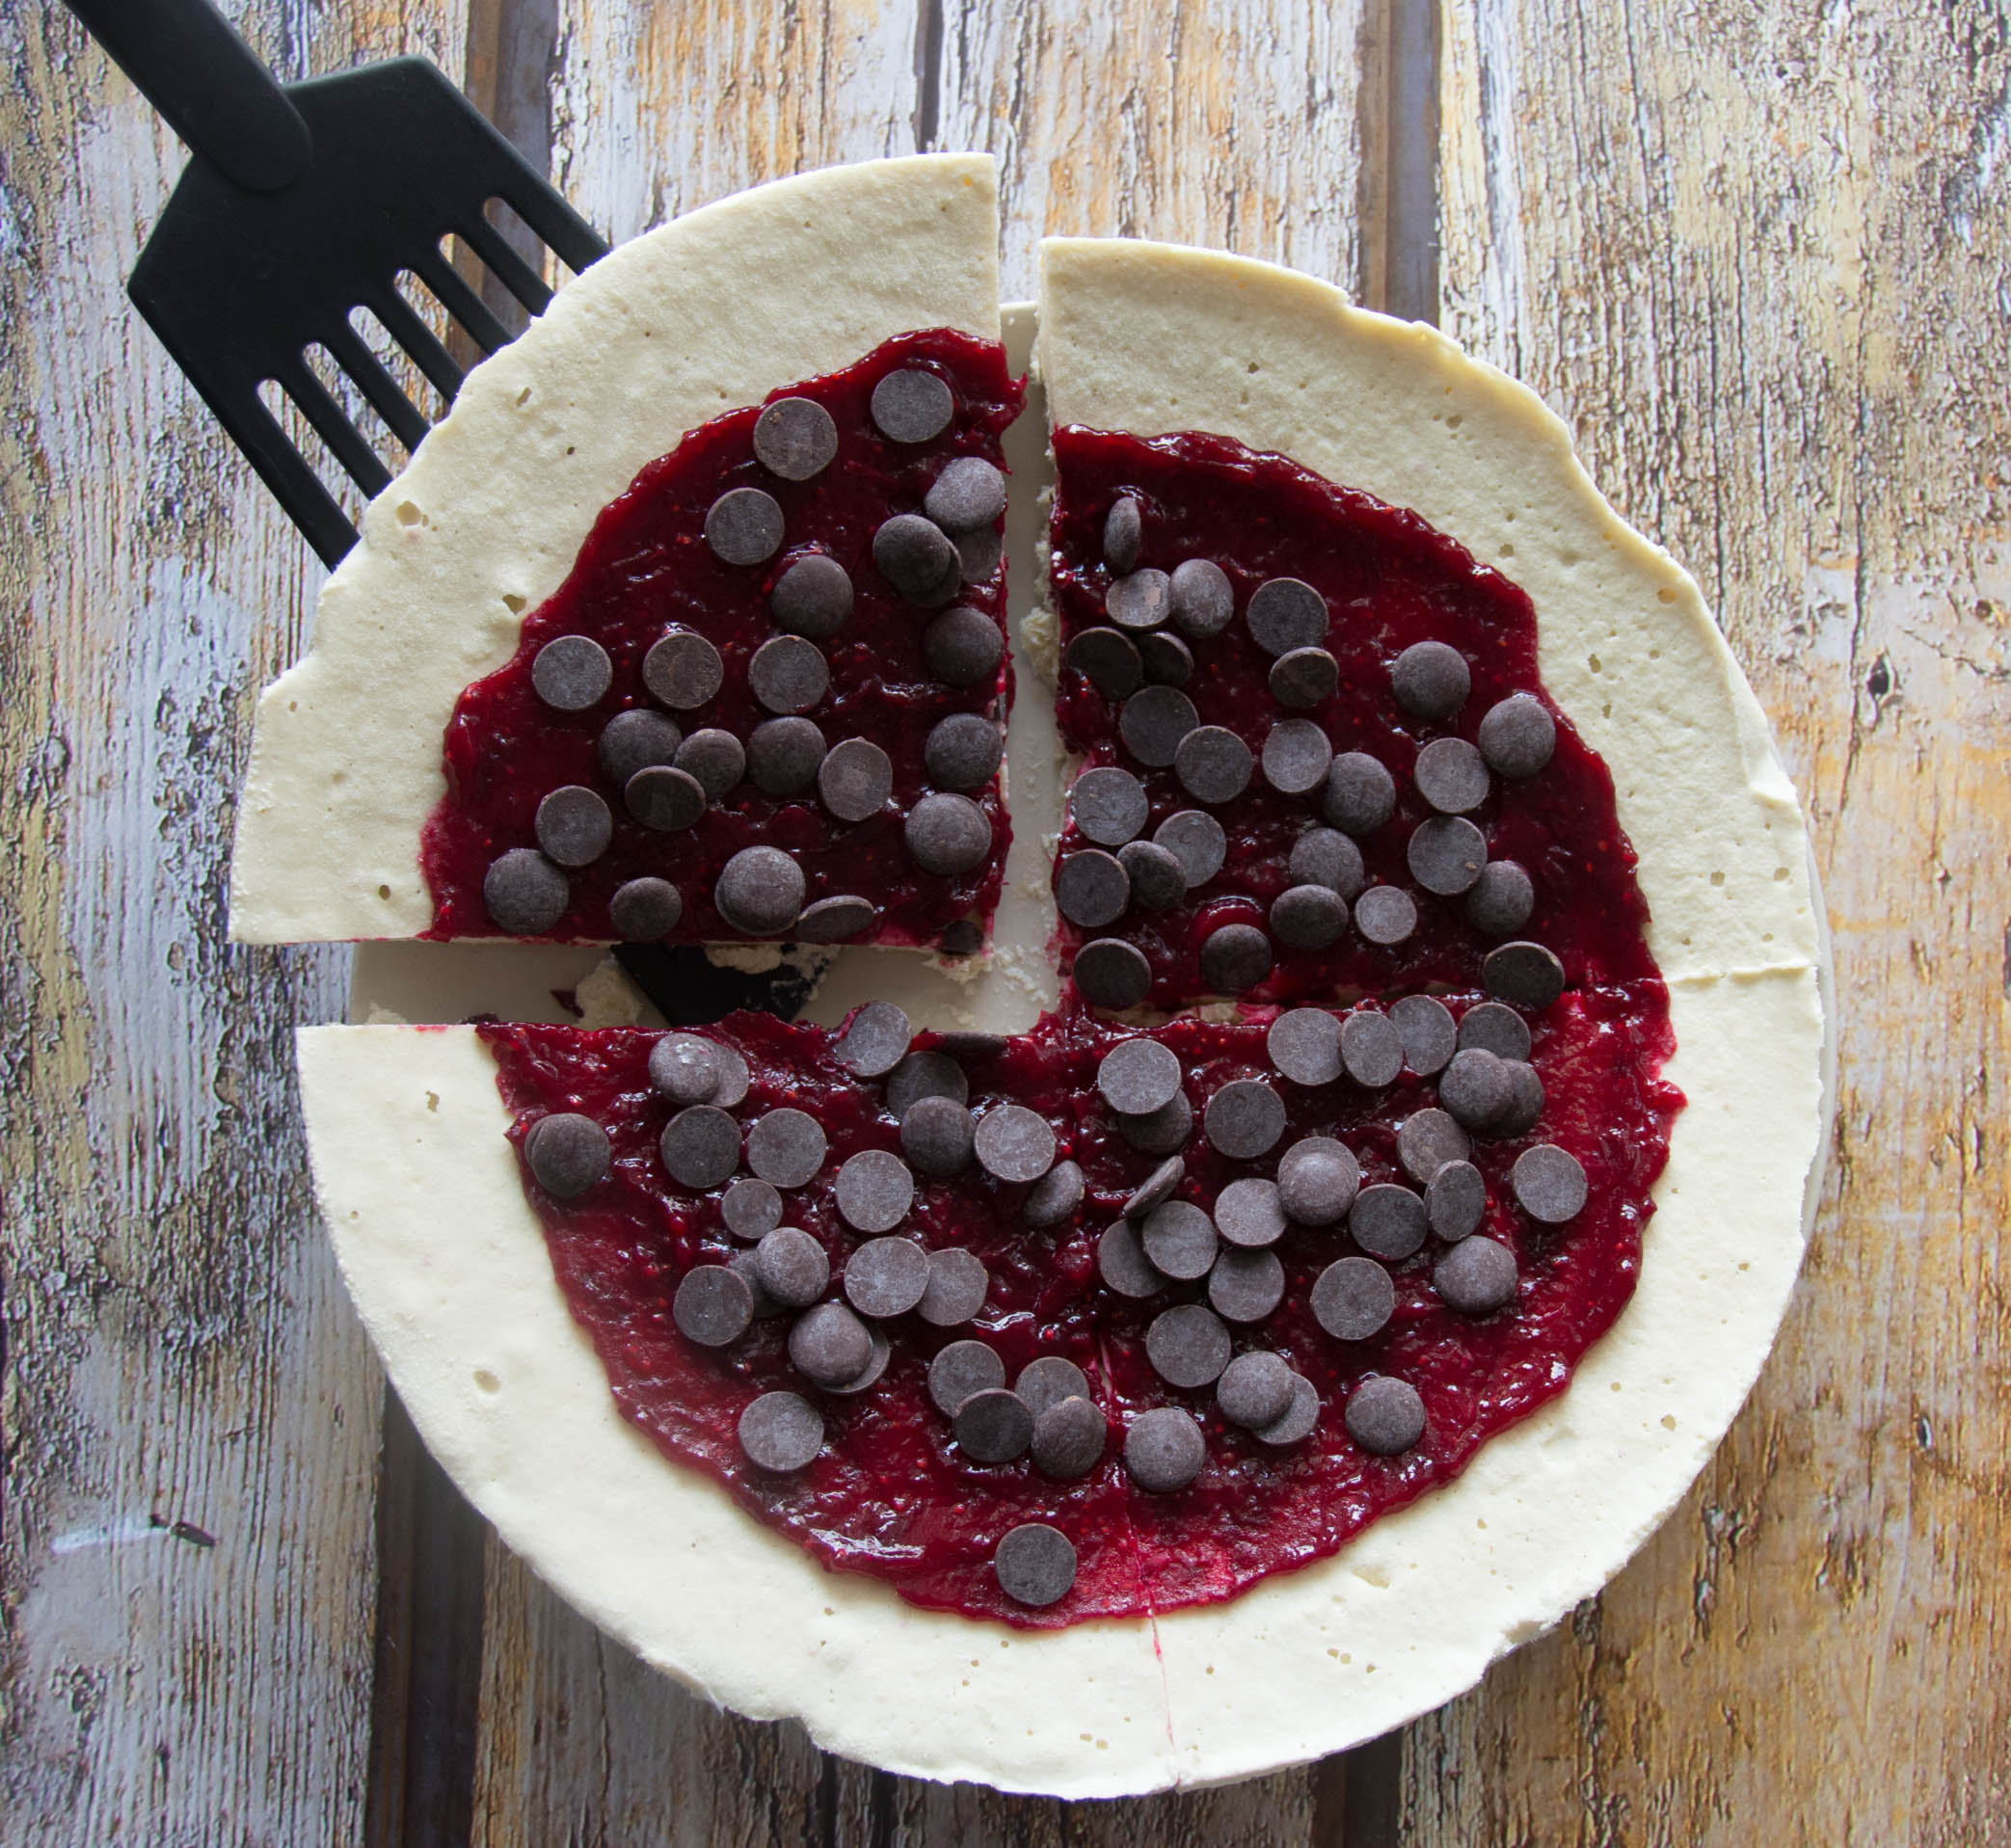
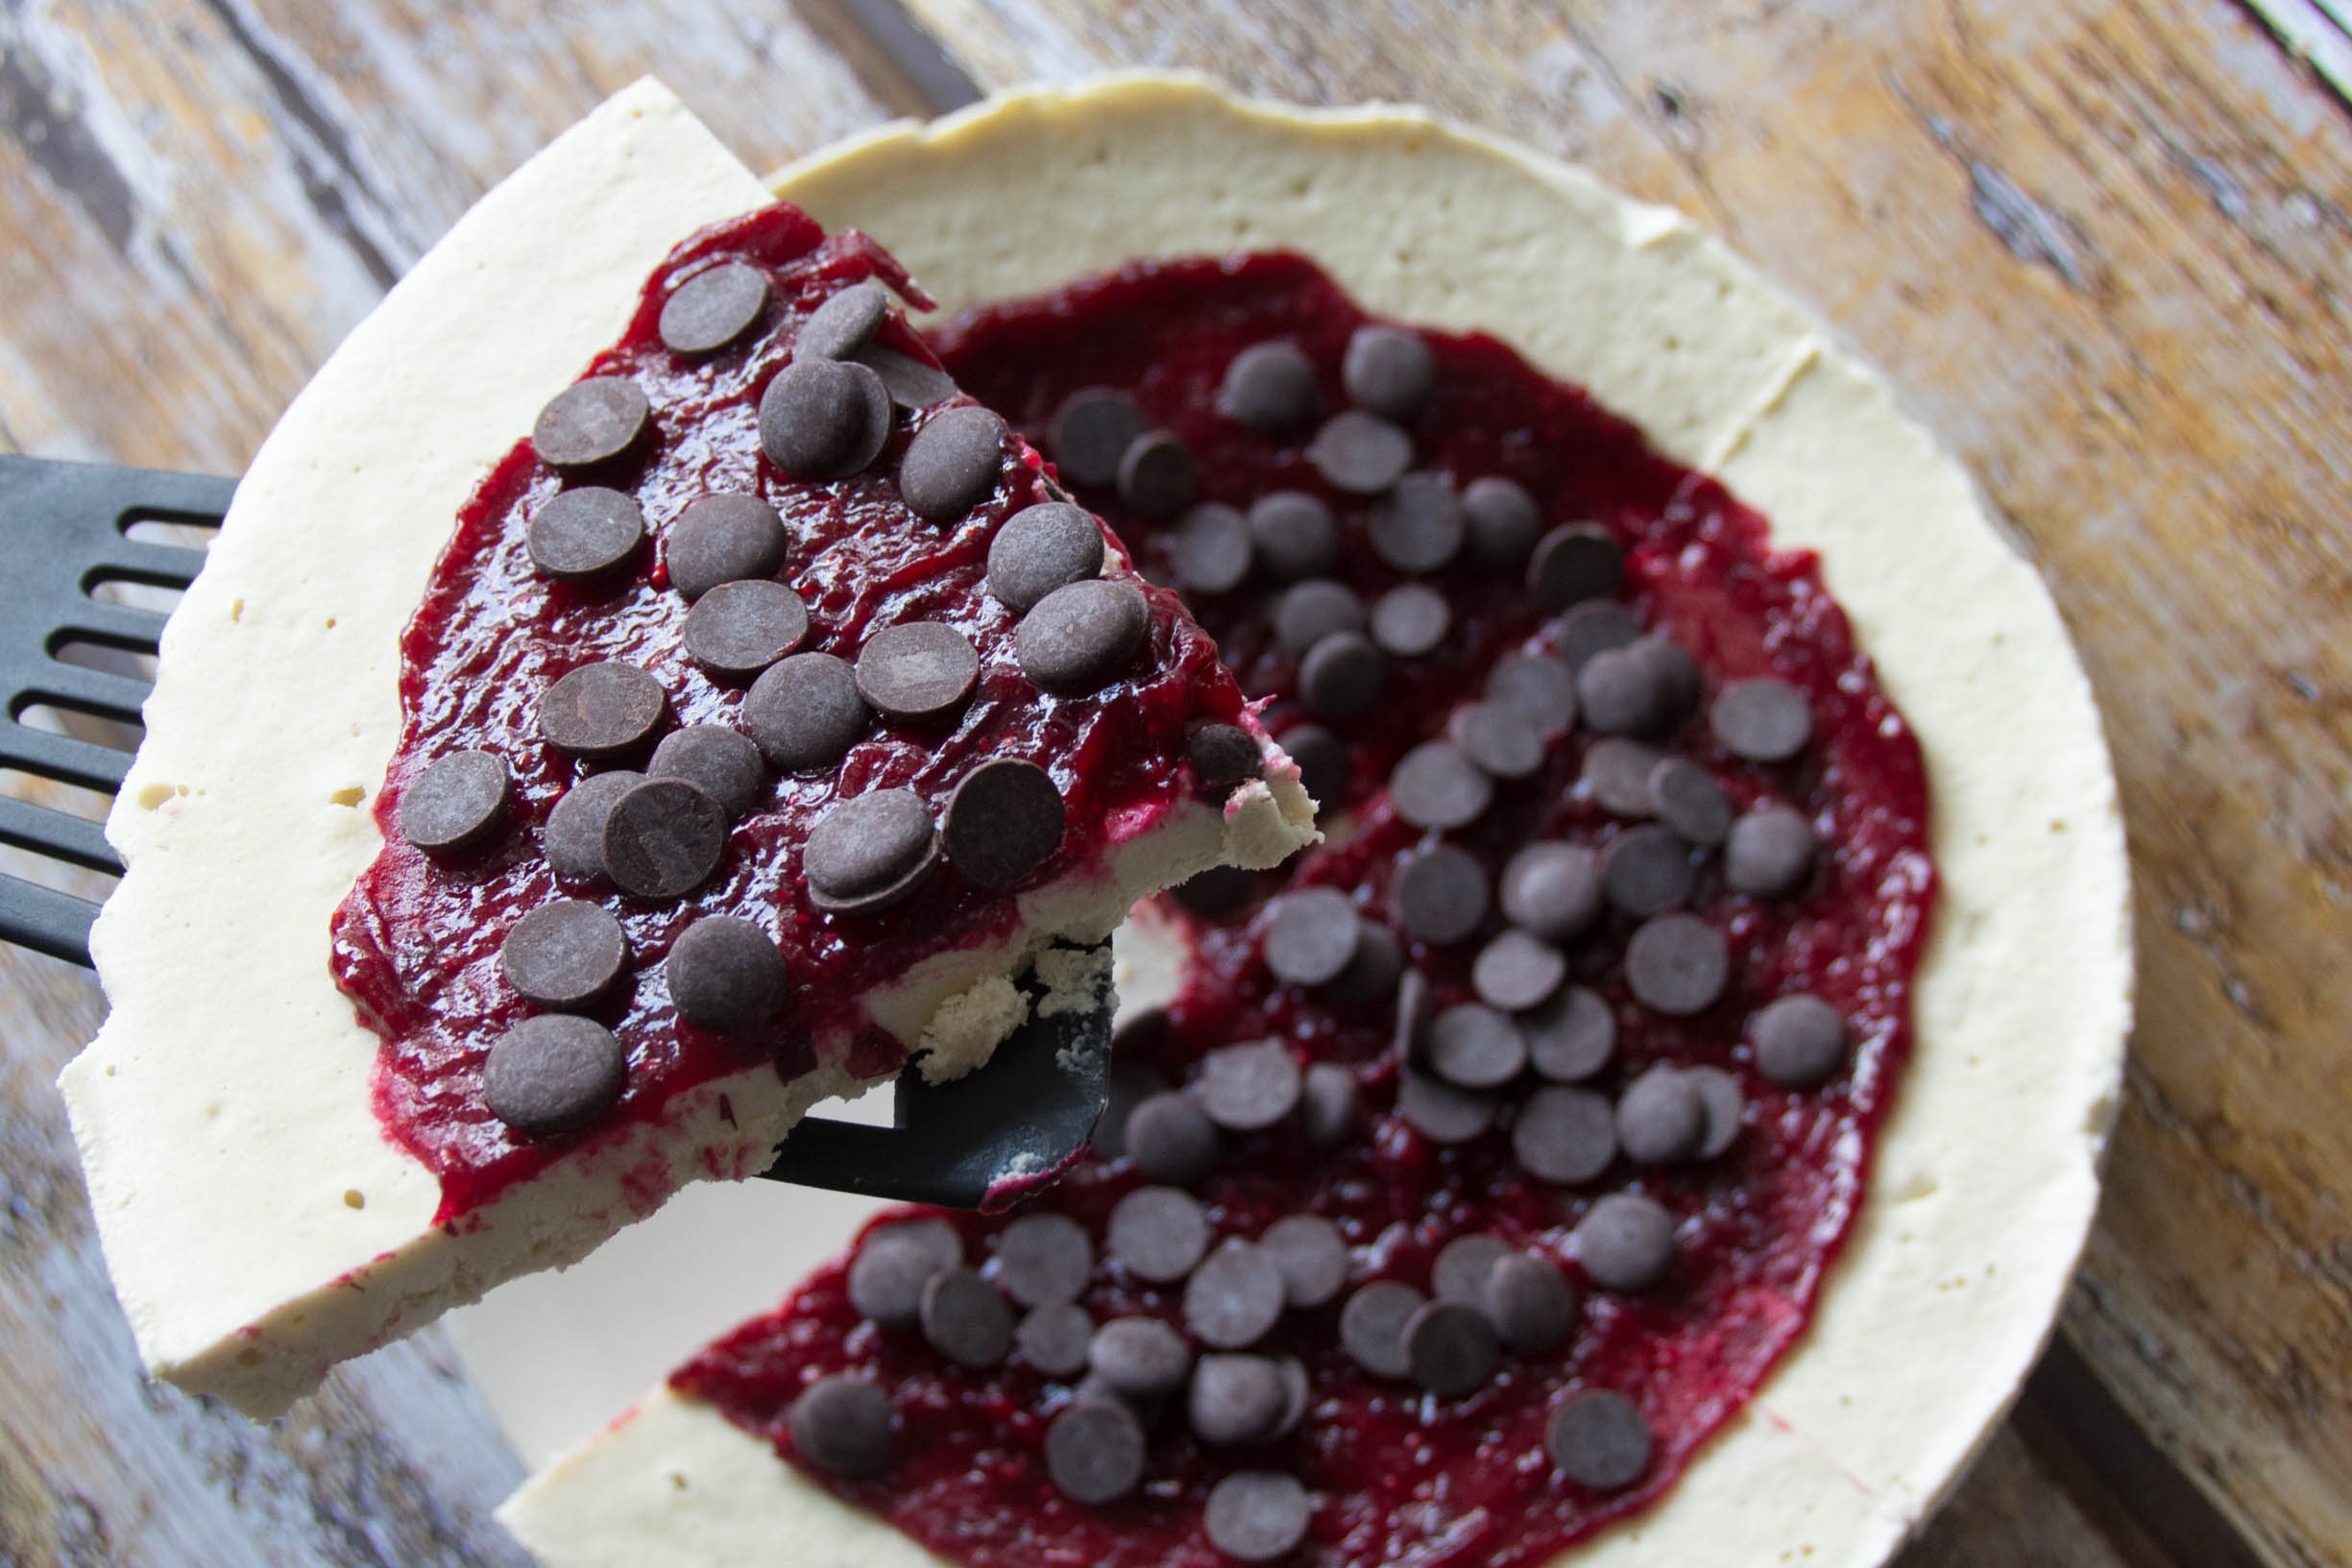
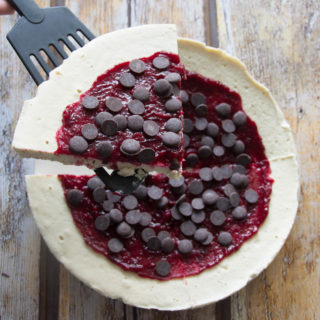
It can come with raspberries and chocolate topping, cause there’s nothing quite better than that combination.
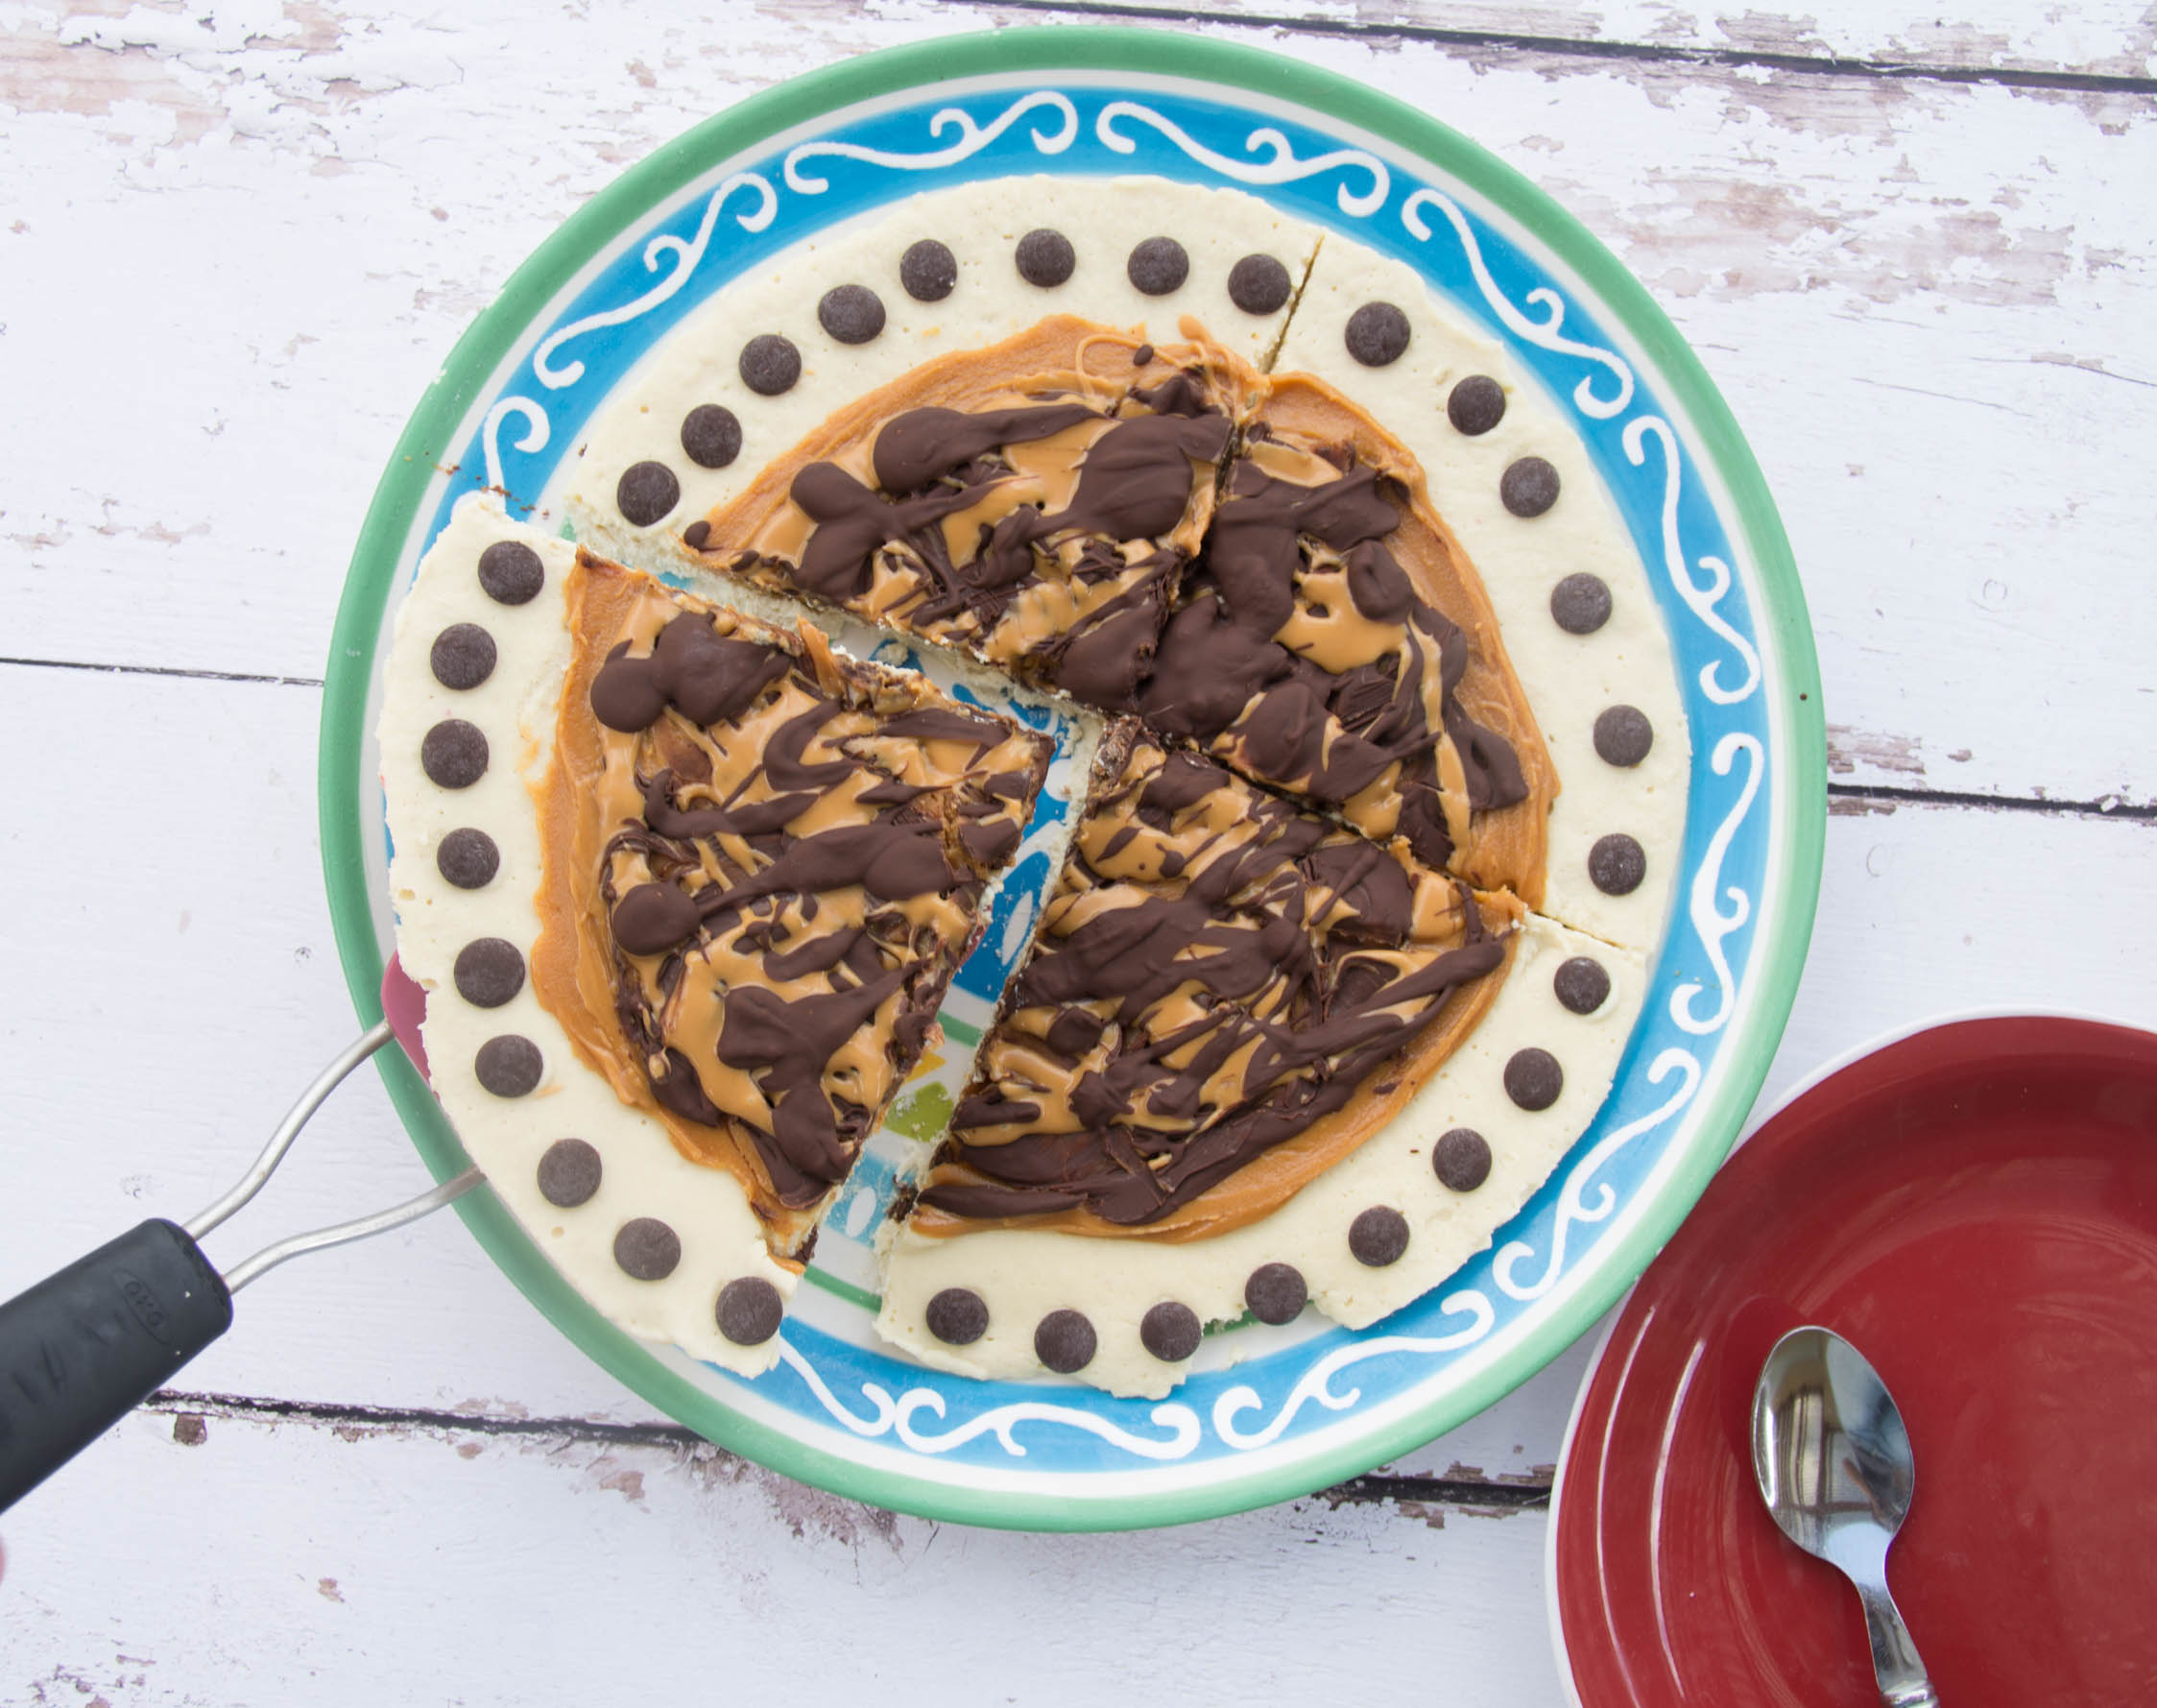
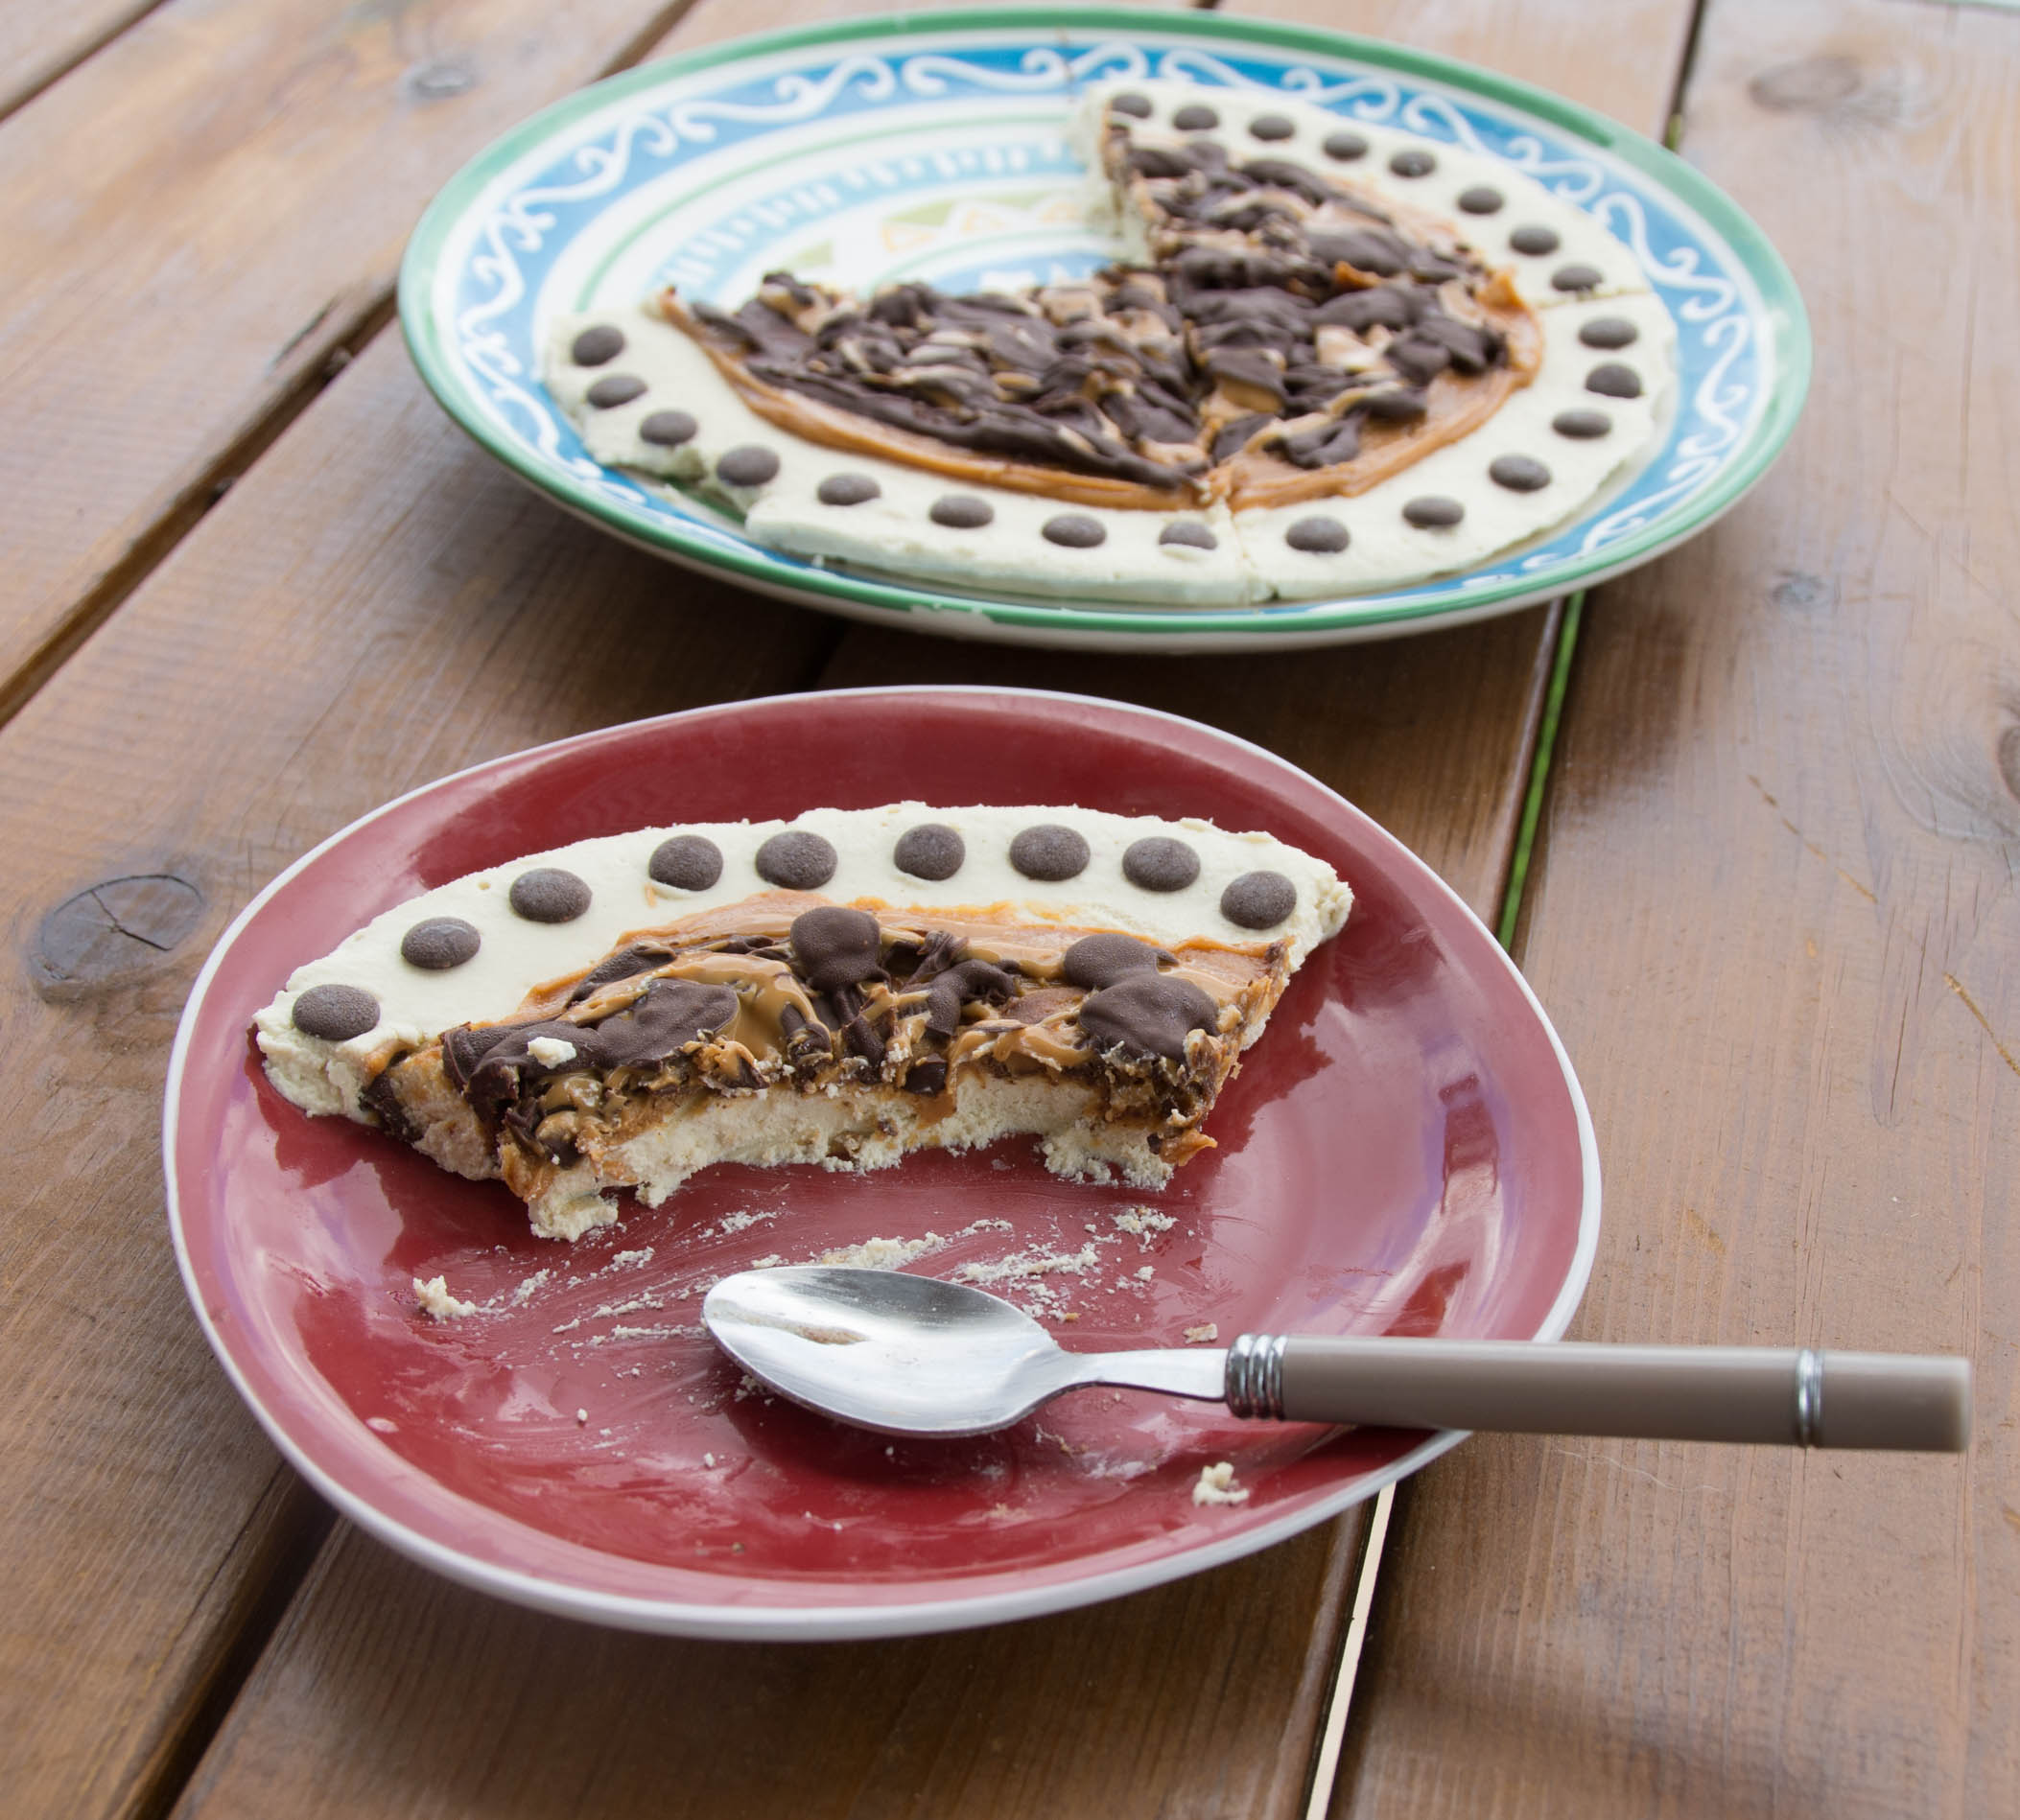
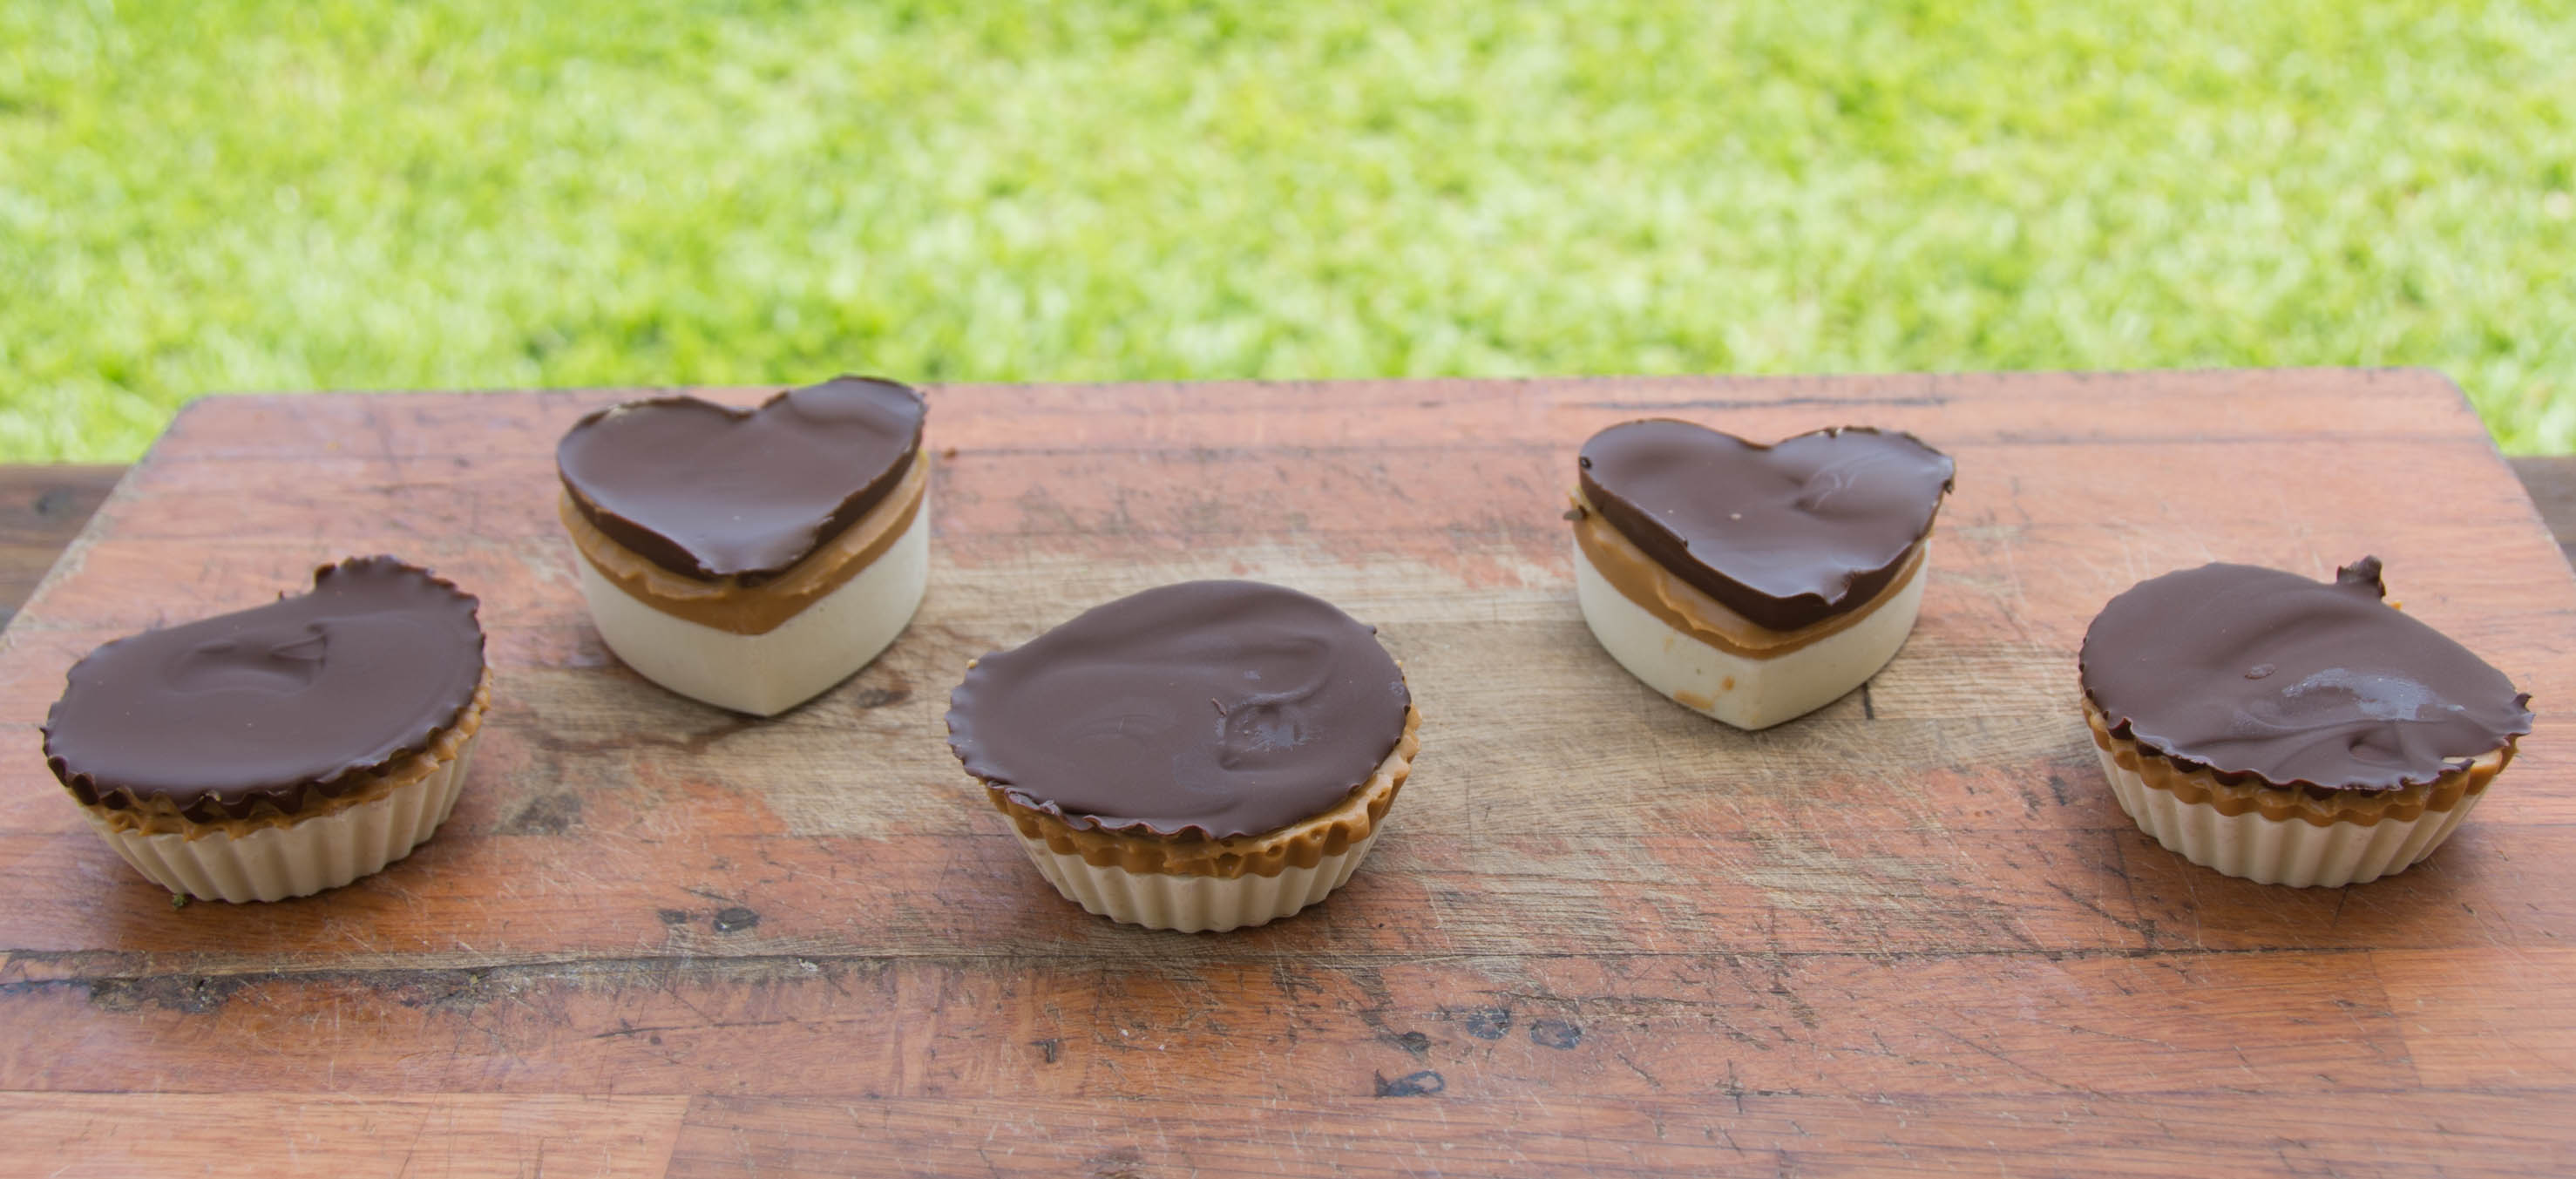
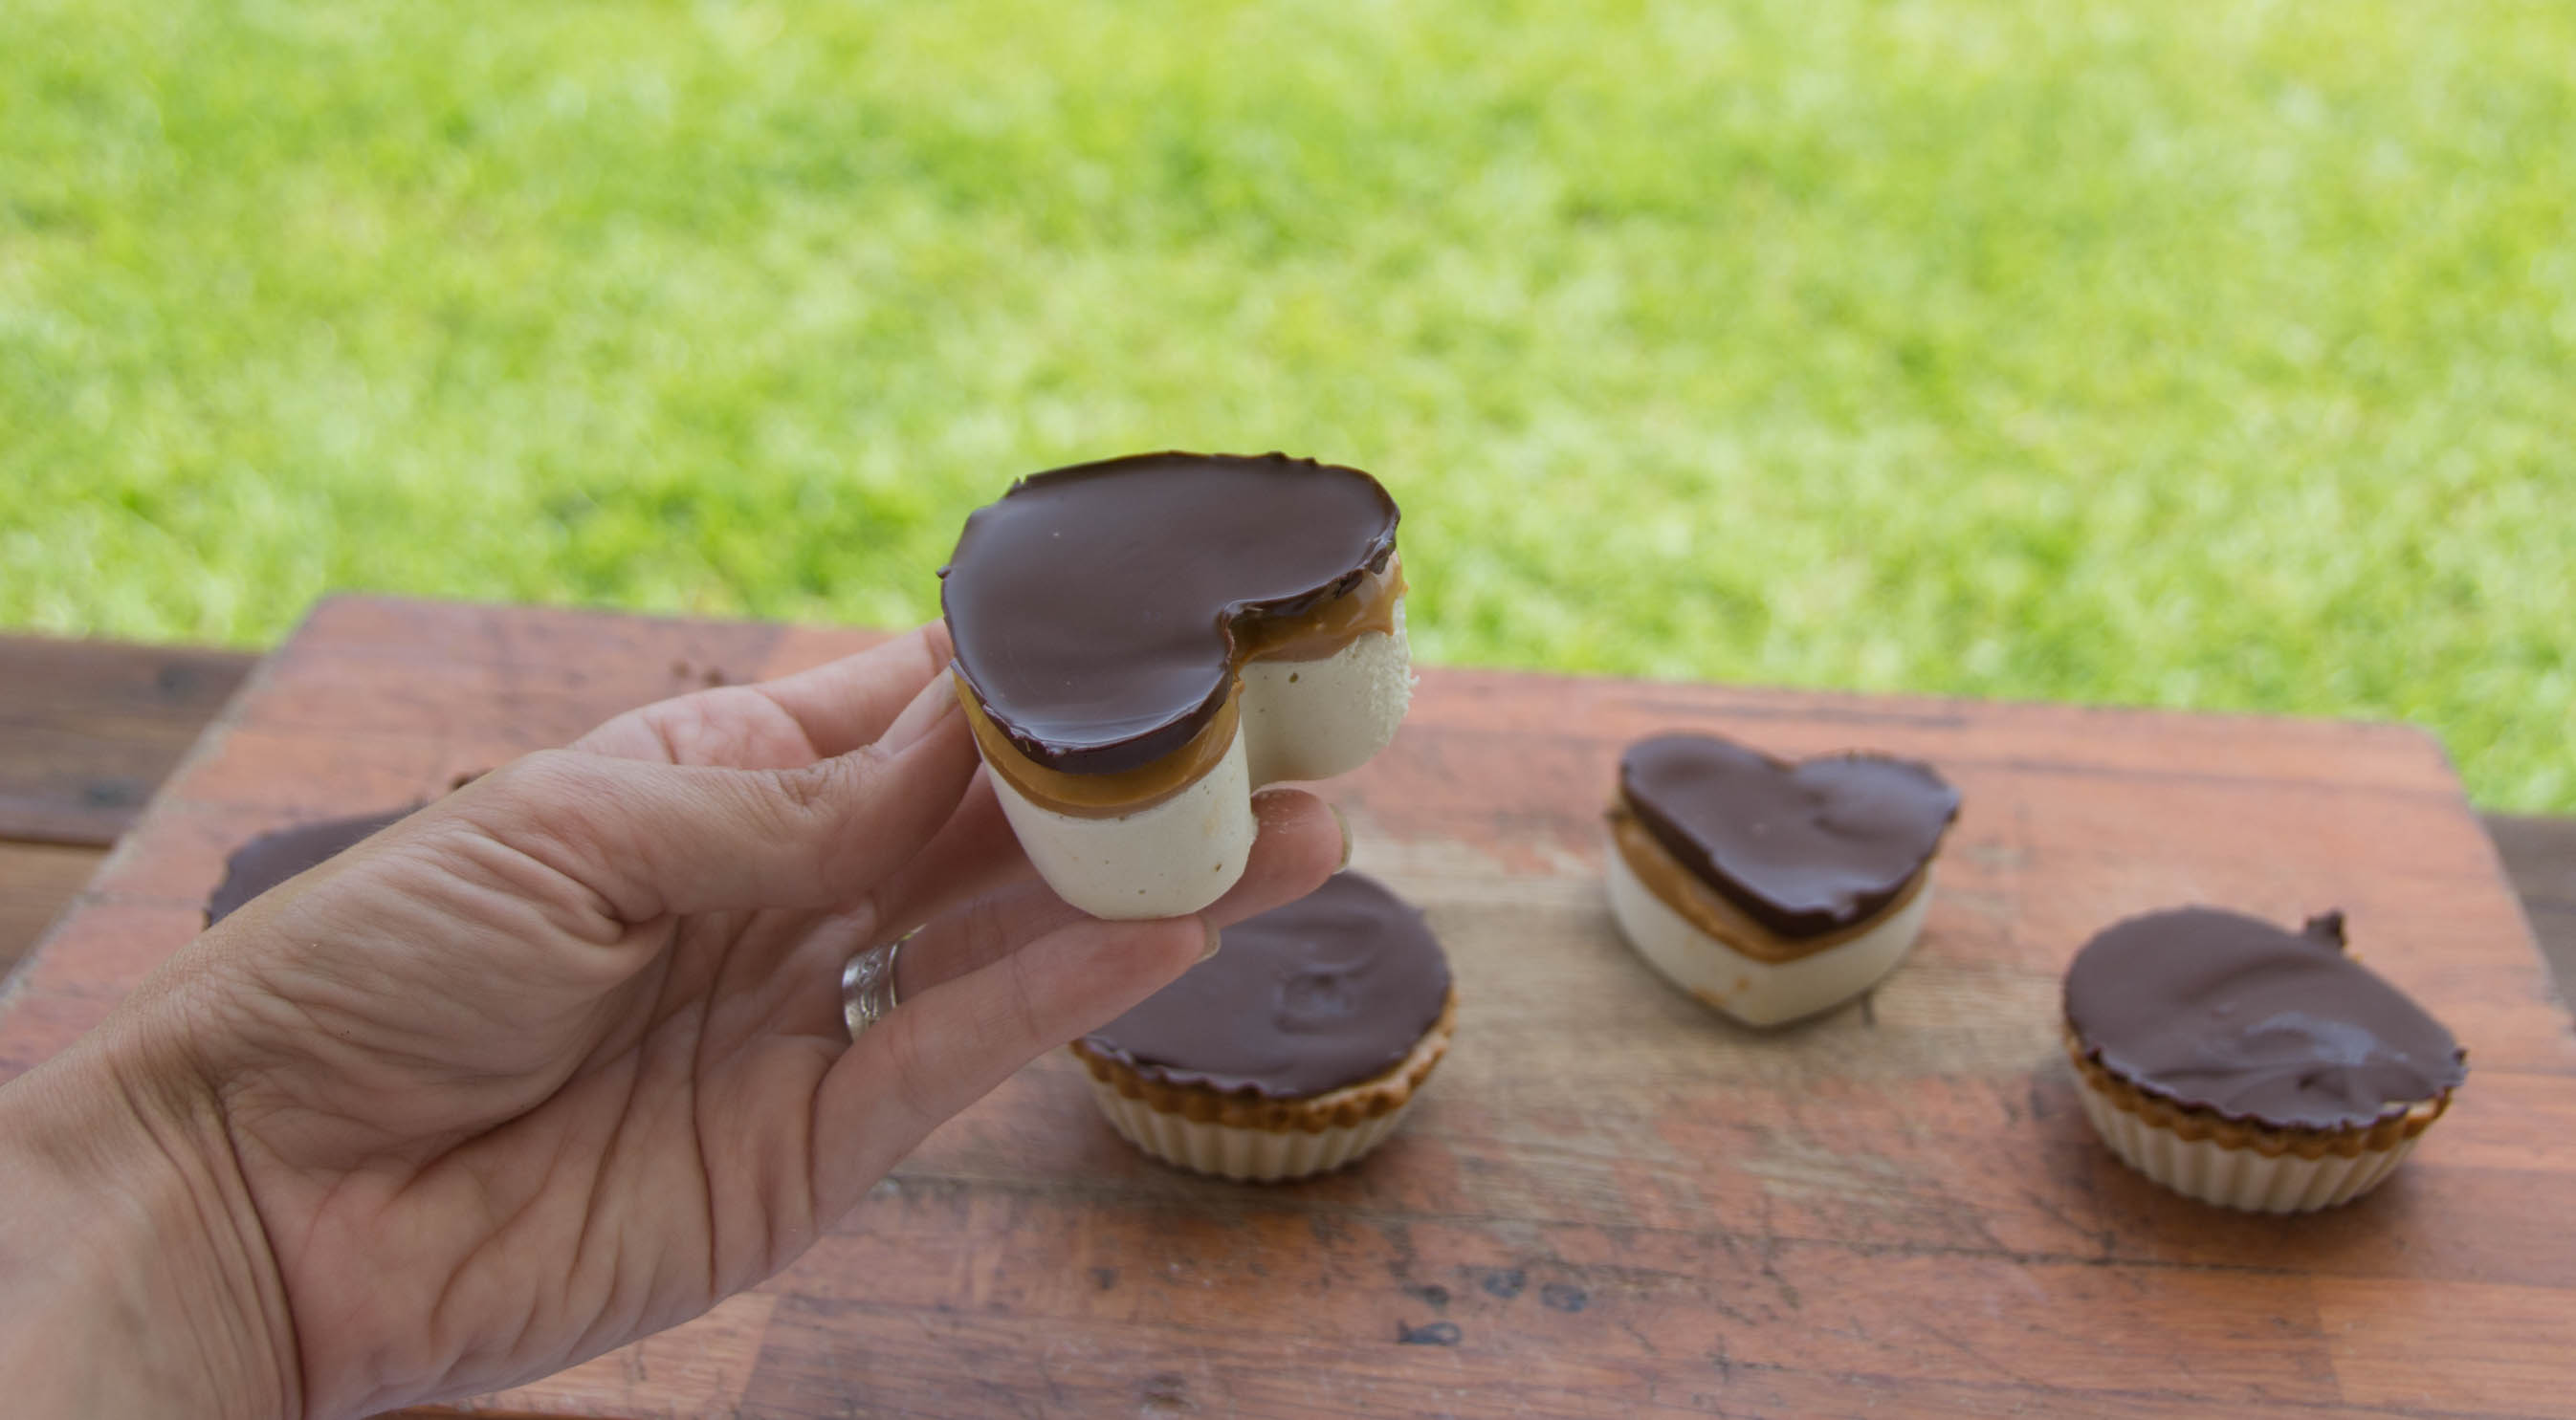
It can come with peanut butter and chocolate topping, cause there’s nothing quite better than that combination.
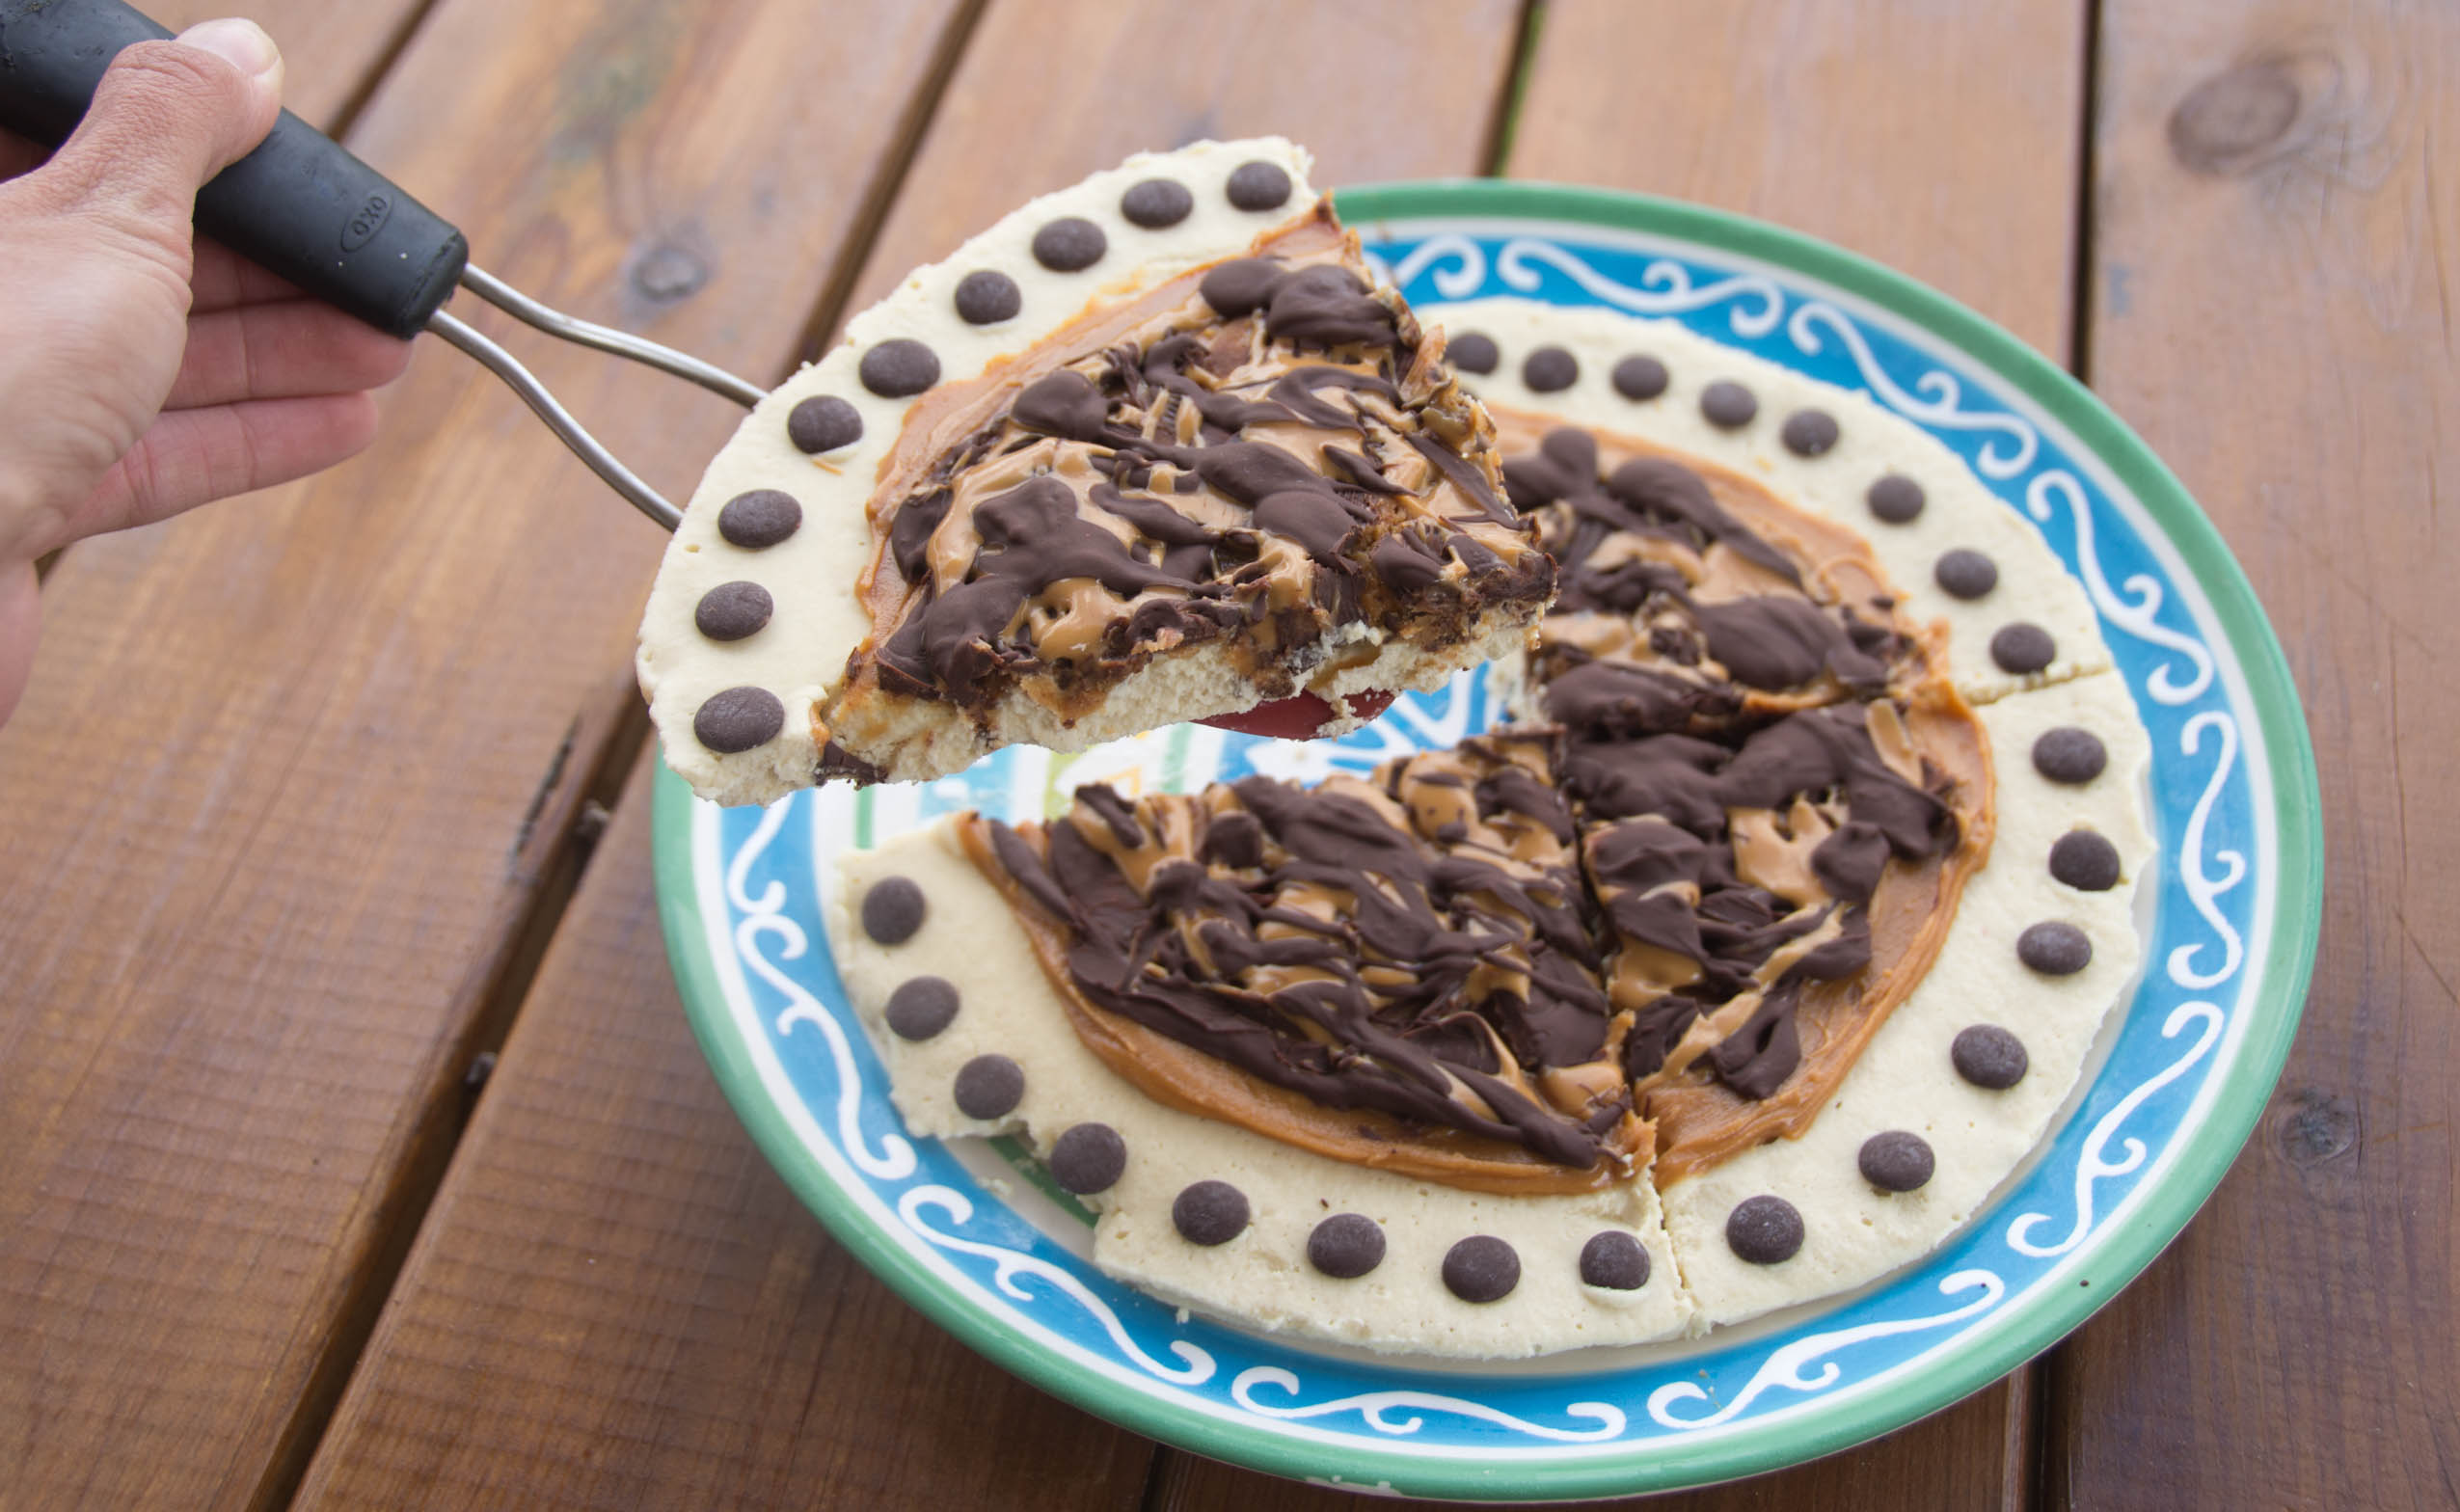
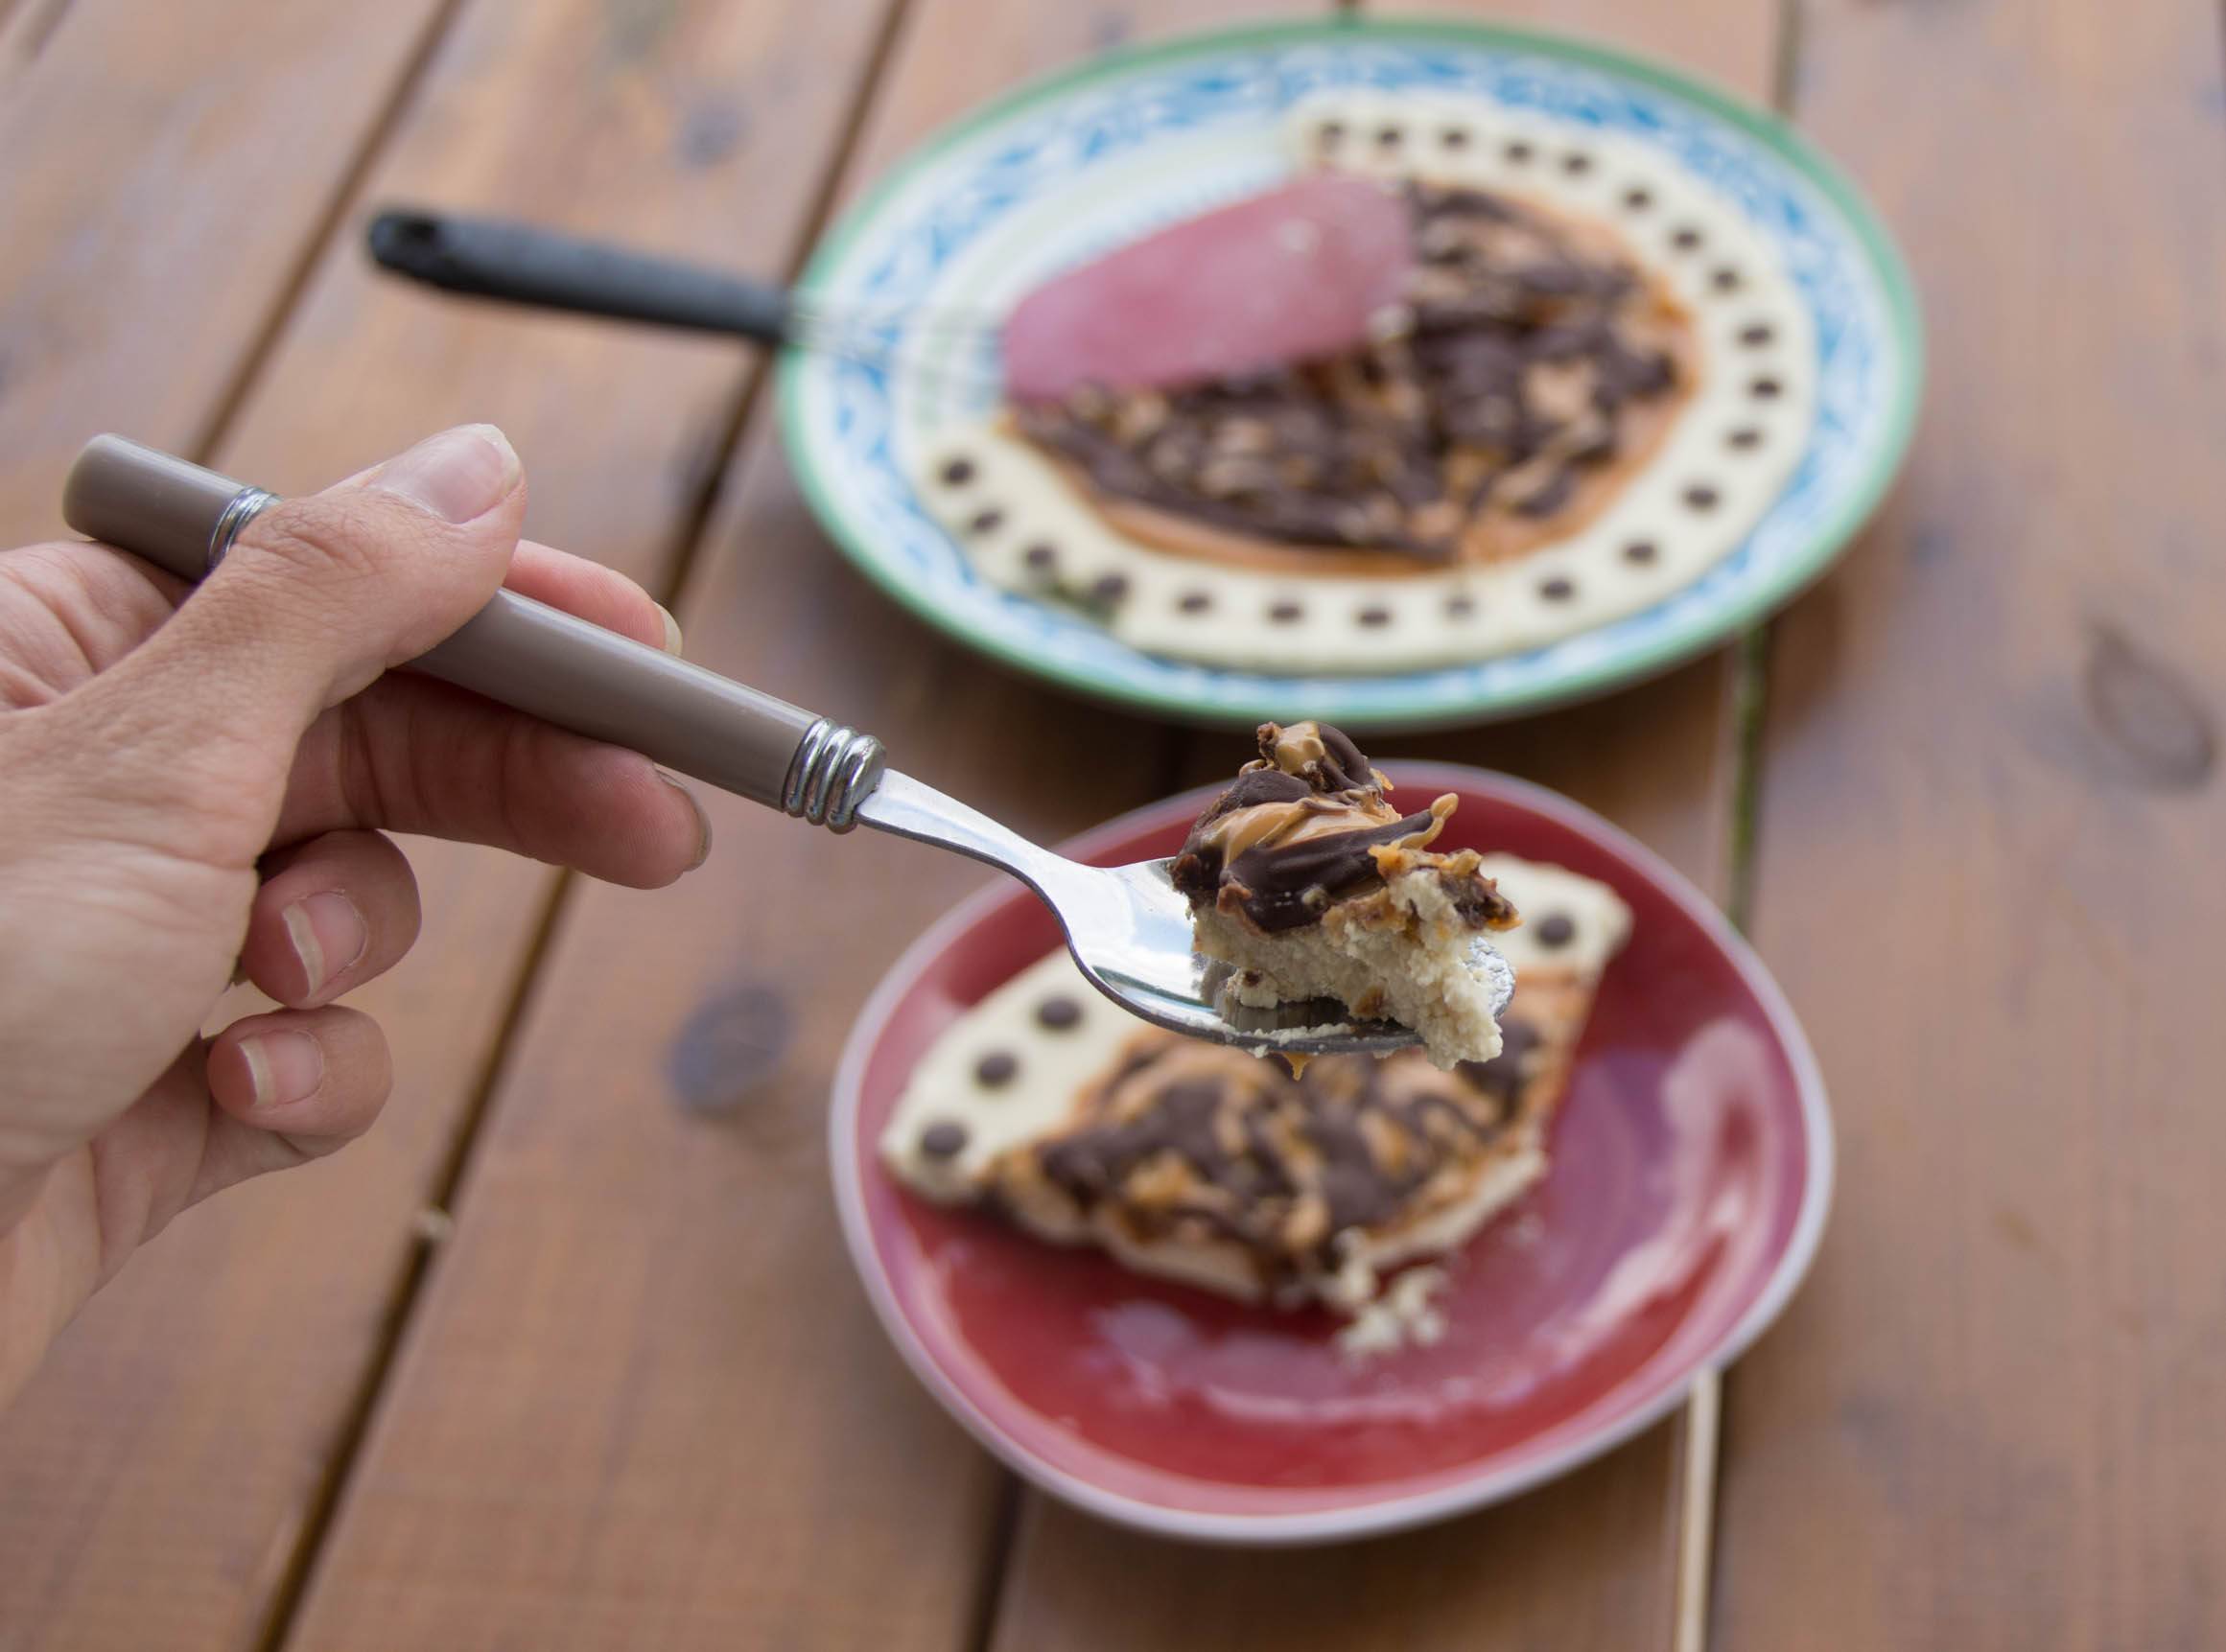
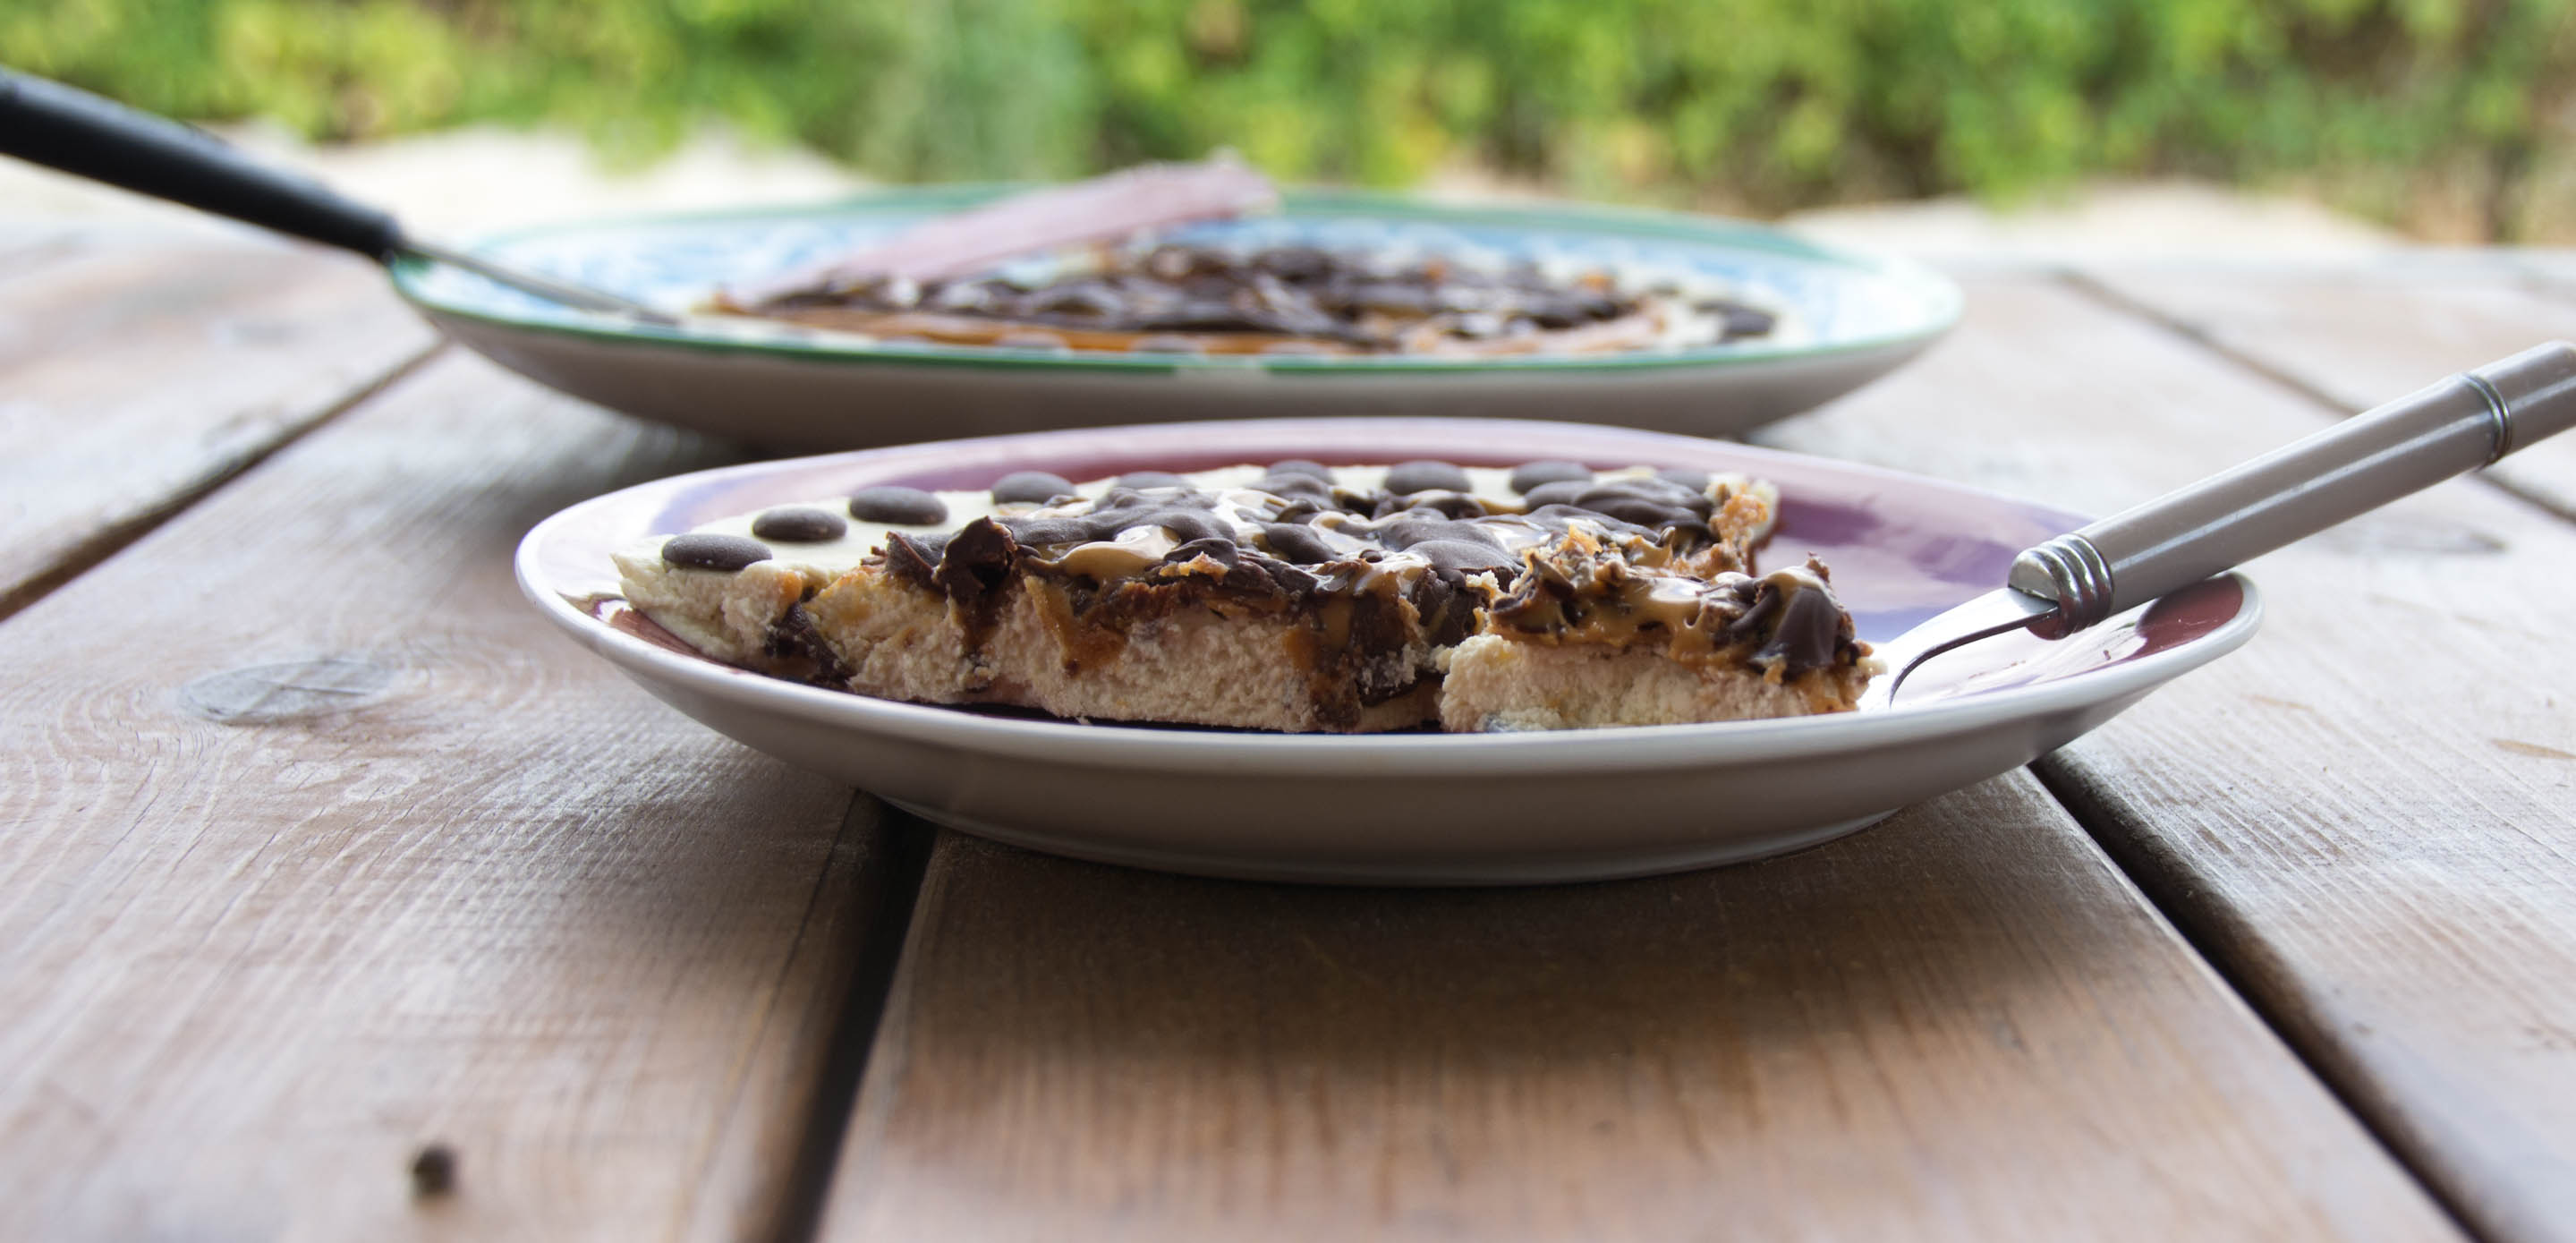
You may think these last 2 ones contradict, but they don’t.
You can also stay traditional and make it in cupcakes molds.
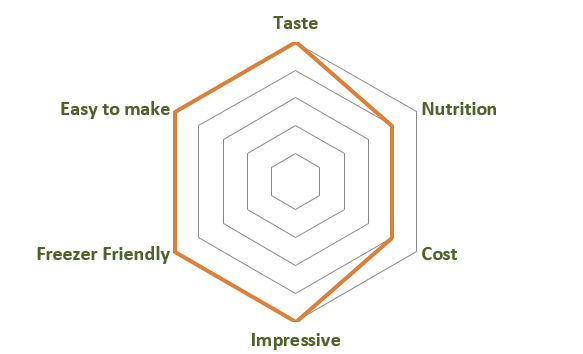
The Dishometer Rating:
- For the cashew base:
- 2 cups sweet apples, peeled and cubed (about 2 big apples)
- ¾ cup cashew
- ¼ cup water (you can sub for coconut cream for an even creamier result if you don't resent coconut taste, like me)
- 4 table spoons pure maple syrup
- 1 table spoon lemon juice
- 1 tea spoon vanilla extract
- 6 table spoons cocoa butter (about 50 grams)
- a pinch of salt
- For the topping , the raspberries option:
- 1 cup raspberries (fresh or frozen), or any other berries
- 2 table spoons pure maple syrup
- 1 table spoon chia seeds
- ¼ cup dark chocolate
- a pinch of salt
- For the topping , the peanut butter option:
- ⅓ cup creamy natural peanut butter
- 2 table spoons pure maple syrup
- ¼ cup dark chocolate
- a pinch of salt
- Make the cashe base: melt the cocoa butter in a bain-marie (in a small pot over a larger pot with boiling water), add it to a high speed blender along with the rest of the based ingredients and blend until it reaches a smooth consistency. You will need to stop and scrape down the sides of your blender a few times. Pour into a spring pan (24 cm diameter) and place in the freezer to set for at least 3 hours.
- Topping, raspberries and chocolate option: warm a non stick skillet with the raspberries and maple inside. Use a wooden spoon to mix the raspberries continuously, until they caramelize and turn runny (see picture above, it takes about 5 minutes). Place in a jar or a tall bowl and blend with a hand blender until it is uniform, then add the chia seeds in. Wait 2 minutes then pour the jam on top of the cashew cake base and top with the chocolate chips. Place in the freezer to set.
- Topping, peanut butter and chocolate option: mix the peanut butter with the maple and gently top the cake's base. Melt the chocolate in a bain-marrie, and pour it spirally or randomly on top of the peanut butter (you can use a chopstick or a toothpick to make shapes from the chocolate). Place in the freezer to set.
- Serve cold, take out of the freezer about 10 minutes before serving.
P.S.
If you liked this and want to be updated with new recipes, Like VeganHightechMom on Facebook or register to get updates via email (This is mostly recommended as it is the only way to ensure you’ll receive the recipes. And check your spam or “Promotions” tabs, as these email might end up there sometimes).
Moran
2 תגובות
Looks amazing! Should I soak the nuts first? Thanks!
Thanks. There should be enough liquids in the blender to not have to soak before, but you know your blender best, if you think it won’t handle the job, soak them